
Living with the Intrepid Enlargers
This page is a collection of tips, modification and links relating to use of the Intrepid Compact and 4x5 enlarger kits. If you have any additional tips worth adding to this page please reach out via the comments section, and I’ll add them to the post.
I own both the Compact and 4x5 enlargers. While they are definitely a compromise over larger traditional enlargers in regard to:
- build quality: They are well built, but definitely not as solid as a traditional enlarger.
- Colour printing: The LEDs in the enlargers are not ideal for colour printing. That does not mean you cannot get excellent prints, you can, but you do not have the same control as a classic dichroic print head.
- Stand: You need a stand for the intrepid. This can be a tripod, copy stand, or a traditional enlarger column.
- Price: This is arguable. Second hand quality darkroom enlargers are not as universally available as some people believe. Prices are going up, and delivery charges alone can be significant.
There are areas in which the Intrepids excel:
- Size: Hands down, they are tiny. I keep both of my enlargers, along with all my paper, trays, lenses, easel, and everything except my chemicals and jugs , all in one small box under my table.
- Heat/Noise: The LED head is silent, and does not require any fans for cooling.
- Dimmable light. The brightness control can be used in place of height, aperture or ND filters for lower light work (e.g. print flash or sensitometry)
- Instant on/off: Traditional enlarger bulbs have relatively long ramp up/down times. So much so that you can’t assume that 3 1s exposures are equivalent to 1 3s exposure. This is much less of a problem with phosphorous coated LEDs that have warm up/down times of around 1us.
- If you own the compact enlarger you can buy the 4x5 kit without the timer which saves some money. The 4x5 light is Graflock compatible so can work with most 4x5 cameras, as long as you can securely vertically mount it.
I’ve divided the tips into three categories:
- Basic Mods: These are simple adjustments that make the enlarger easier to work with. They are quick, easy, cheap and significantly improve the usability in some way.
- Intermediate Mods: These are changes that take a bit more effort but are mostly harmless.
- Advanced Mods: These are bigger changes that will void warranties, and perhaps destroy the very fabric of space and time.
I have also prefixed the title of each tip with a rough indication of what part of the whole system it relates to (for example which enlarger or the timer).
Basic Modifications
There are a handful of very simple changes that can make a big difference.
Extra rubber feet
The rubber feet on the timer tend to fall off. Do yourself a favour and buy a pack. They are cheap and readily available. I eventually just pulled off the ones remaining on mine and replaced them all with new ones that I have a whole bunch of.
There are a couple of other uses…
Timer - rubber dot on Run
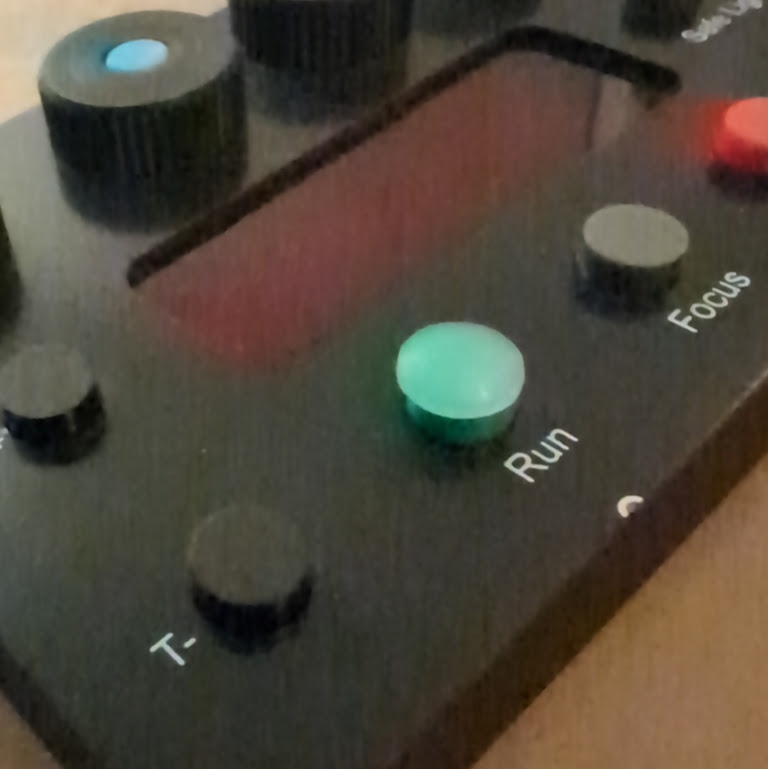
Domed rubber dot on the Run button
Although there is actually a small notch on the timer below the run button, that’s a bit fiddly and weird to find in the dark. So much so that I didn’t actually even notice it was there until I got the second timer with my 4x5 kit.
Before I noticed the notch I decided to stick a small 3M Rubber dot to the top of the run button. This makes it trivial to find in total darkness, even if I have a towel thrown over the timer.
4x5 Light - rubber feet
If you ever use the 4x5 light for scanning (or even sensitometry), stick 4 of the rubber feet on the back of the light, one in each corner to stop it slipping.
Compact Enlarger - Reverse the focus thread
I will die on this hill: as much as I love my Compact Enlarger, they ship the thing wrong!
This tip comes from Roger Lowe of Shoot Film like a Boss, and his original review of the compact enlarger.
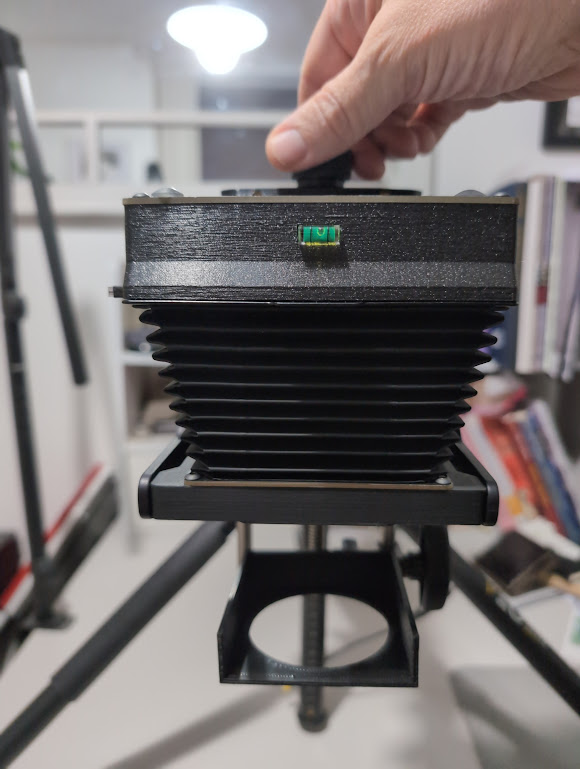
Focus rod switched around
When you first get the unit and set it up, the focusing knob is at the bottom, near where the lens is. I think they have it this way because it is easy to unscrew the light and use it for negative scanning.
Within about 5 minutes of trying to focus my first negative I realised the genius of Roger’s suggestion and have never actually used the unit in the original setup.
When focusing with the knob near the lens:
- You’re hand gets in the way of the lens while you are trying to focus
- There’s more distance between the bit you are twiddling and the tripod mount so the unit wobbles and flexes a lot while you are trying to fine tune the knob.
- Did I mention, YOU’RE HAND GETS IN THE WAY OF THE LENS
- If your hand doesn’t your arm does
Fortunately it’s easy to switch around. With the knob above the light you need to reach a bit further, but you’re arm doesn’t get in the way. Also, the bit you are twiddling is now right by the tripod mount causing less wobbling while while focusing.
The downside is that you have to remove the whole thread if you want to take the light off to use for scanning, but honestly, just get a dedicated scanning light.
Compact & 4x5 Lights - negative carrier side light leaks
Because the neg carriers have minimal light trapping on the sides I find light spills out of the side when the light is on. It’s not a huge problem but if you have white walls near the enlarger that extra light can bounce off them and potentially fog your print.
Although I haven’t experienced huge issues with this fogging in practice, I keep a small black microfibre cloth draped over the top of the light to stop the light spilling onto my walls and bouncing onto my prints.
Tripod “template”

If you are mounting your enlarger on a tripod it can be cumbersome to get set up for a print session. To help speed this up I created a set of cardboard templates that I can use to set the column height for a given print session. TODO (add more info and picture)
Making plate holders
I am a fan of glass plate photography, and like to enlarge from glass negatives. There are some 3d print models for the purpose, but my own 3d printer is too small to print them, and being the impatient person that I went a different route.
Two pieces of mount board (or mat board?) are almost the same thickness as the existing negative holders for both the compact and 4x5.
I use black mount board to safe me having to paint anything. Cut two pieces of board to the right size for the enlarger you are using
- Compact: SIZE HERE
- 4x5: SIZE HERE
I cut a hole large enough in one to fit the plate. Then, in the second piece, I cut a slight smaller hole. It just needs to be 1mm or so smaller, so the plate wont fall through. If you can, use a bevelled cutter (I use the one I use for cutting mounts for framing). The bevel needs to be set so that the plate it sit on the smaller inside diameter and it bevels outward (downward). If you are using black mount board you want the black side facing outward.
I then glue these two pieces together, and when the glue is dry I colour any of the white cut surfaces with a black marker.
Yes, it’s an ugly bodge, but also, yes it gets me printing plates.
Intermediate Modifications
Enlargers - Tripod arm
If you are using a tripod to hold the enlarger (rather than a dedicated column or copy stand), a horizontal tripod extension arm can make life much easier. This lets you keep the tripod level, but get the head out clear of the legs. This then helps avoid any easel blades fouling on the tripod legs. It also allows you to dedicate the centre column movement to height adjustment.
I use this one from K&F Concept, though I’m sure others are available.
Compact Enlarger - Using Under Lens Filters
For various reasons I have found that I prefer using traditional contrast filters, rather than relying on the Intrepid Timer’s built in contrast grade controls. I have used two different approaches and will present both here.
A custom holder
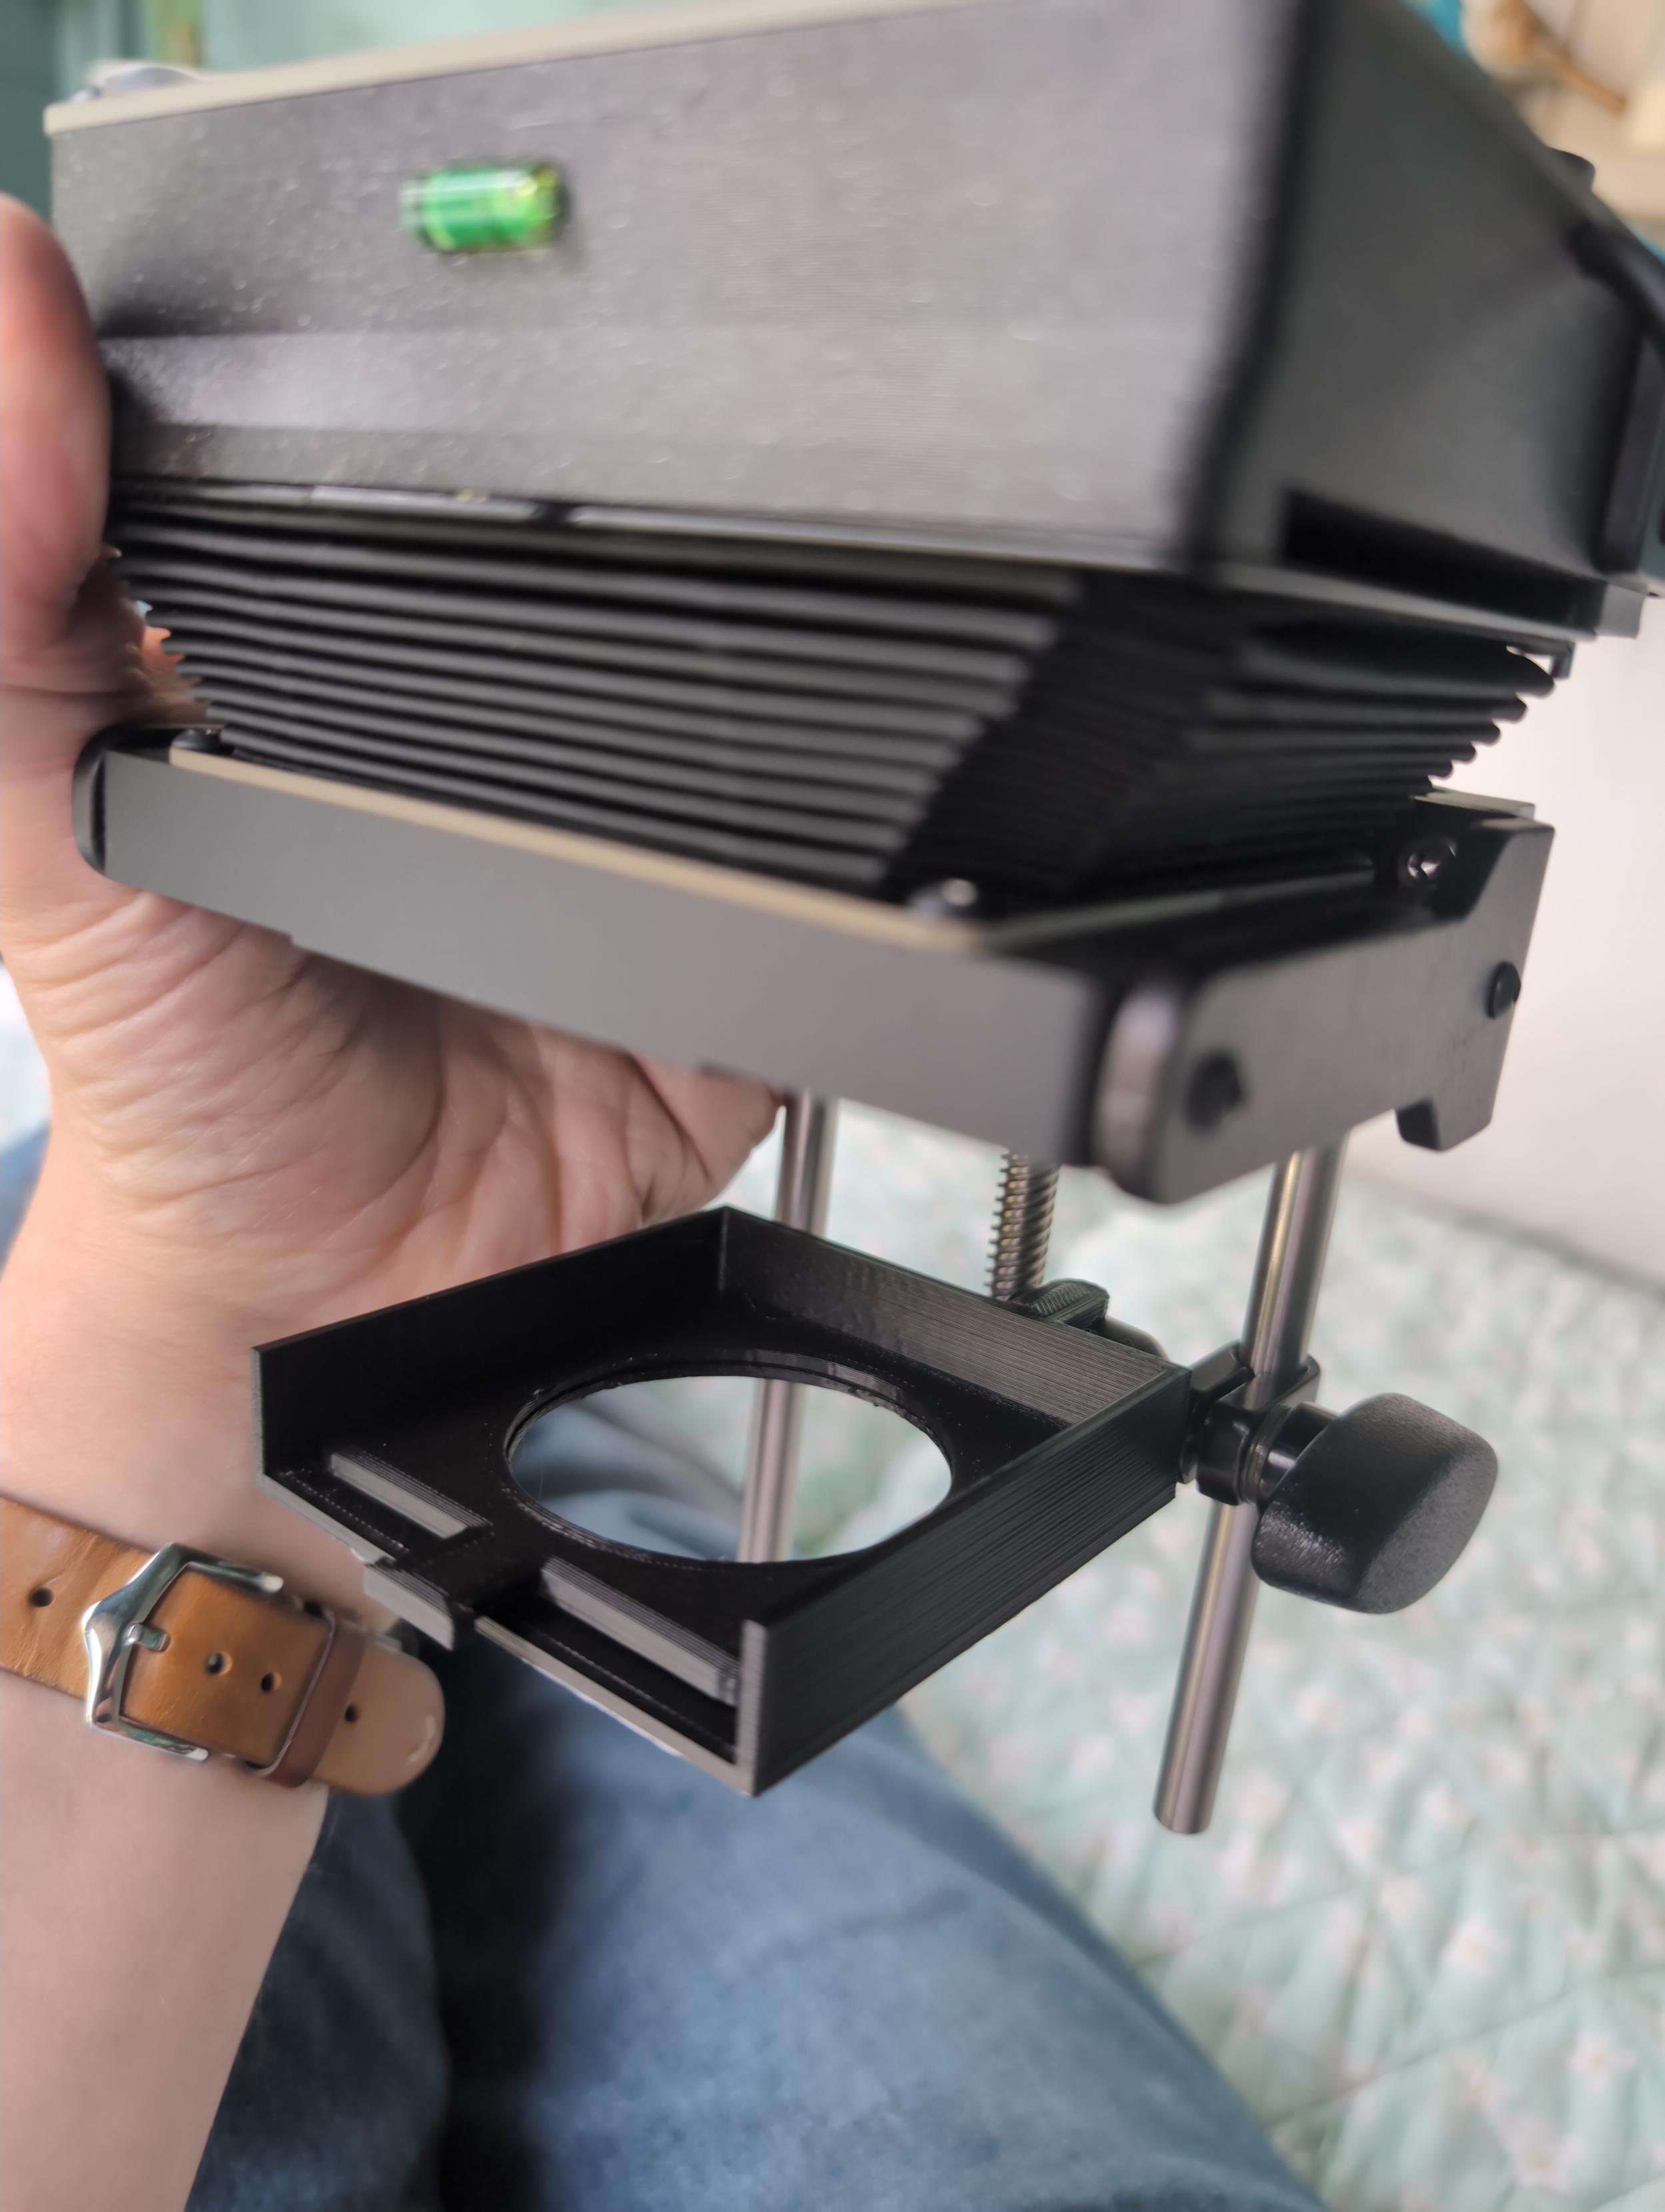
3D Printed ilford compatible filter tray
The main approach I now use is a custom 3d printed tray that I attach to one of the vertical rods of the enlarger with a clamp. The code for the 3d print, and details of the clamp can both be found here. There is also a model for a clip together filter holder that will hold Kodak Wratten gel filters.
Making the original Ilford holder fit
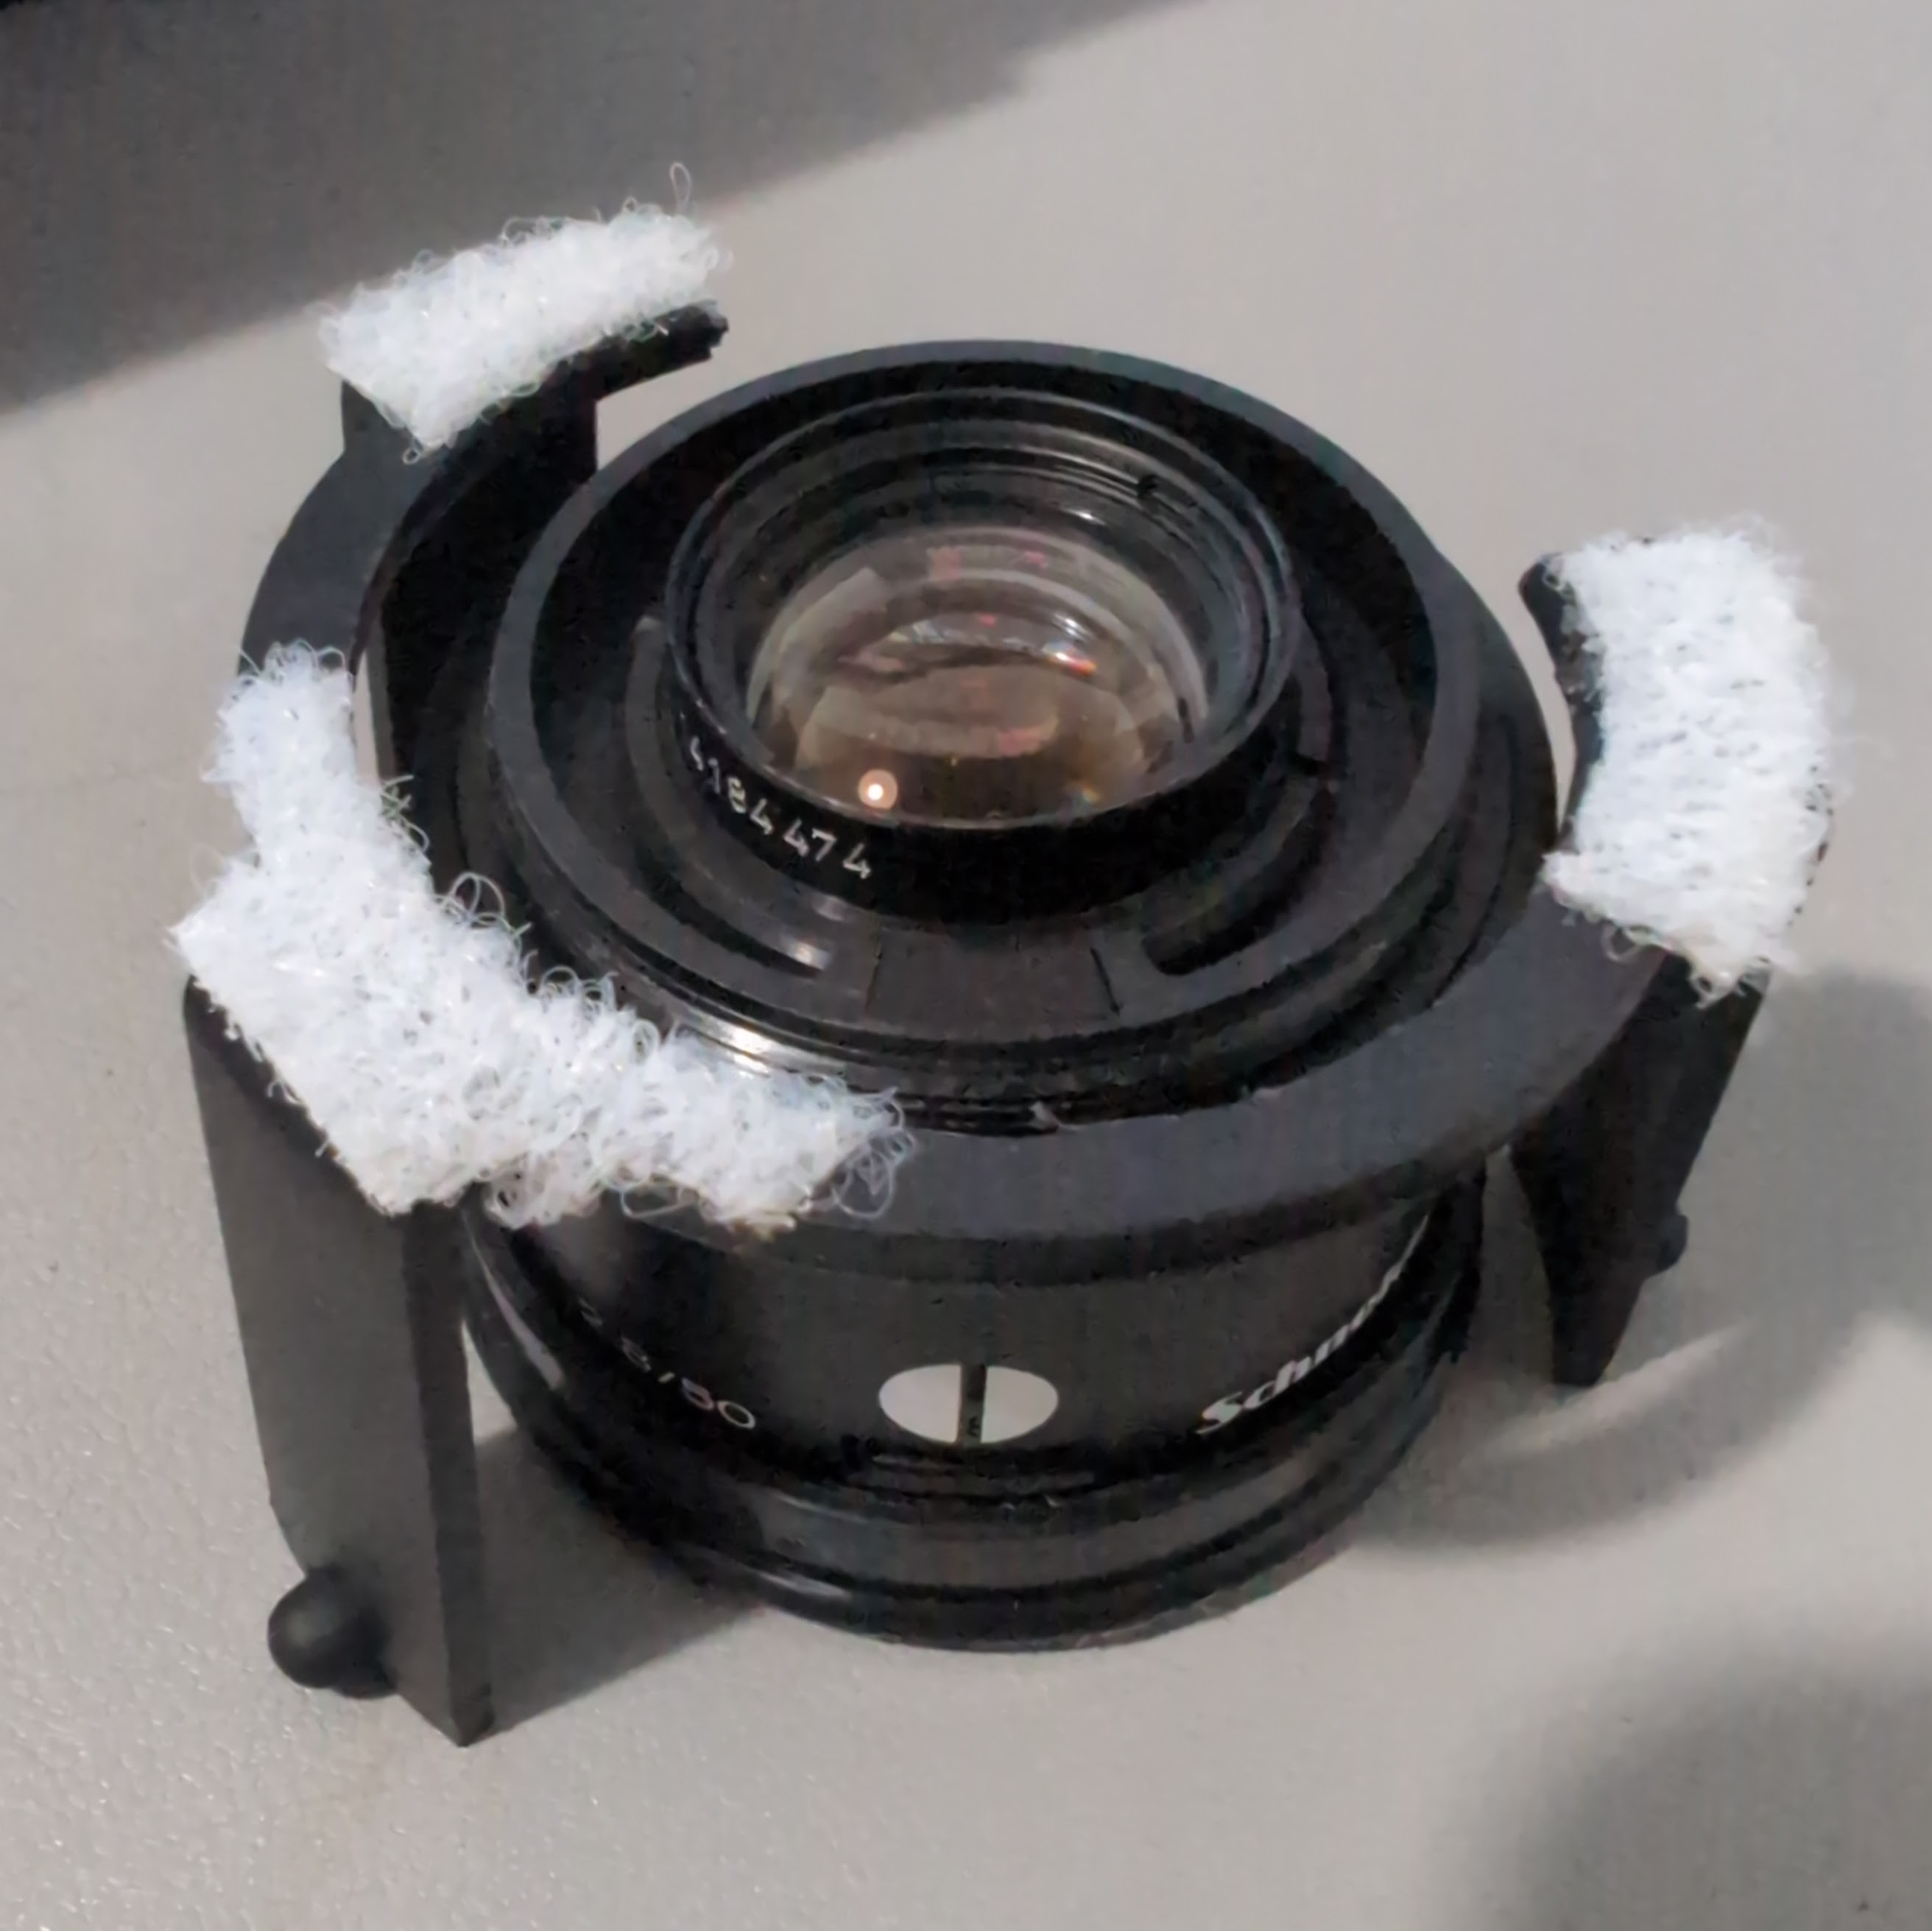
I had a hard time fitting the Ilford Under the Lens Multigrade Filter Kit with the Compact Enlarger.
I use Schneider enlarger lenses which have a short thread and an extra arm to open the aperture. The short thread means that the lens will not screw in properly with the 3-legged holder between it and the lens board. Also, it becomes very awkward to change lenses and keep the holder in place. In addition, once fitted the three legged holder gets in the way of the preview arm. The approach below seemed to alleviate a lot of these problems, but was still annoying to use.
I did manage to make it fit by:
- File out the inner circle of the 3-legged holder so that the lens will fit entirely inside it without “clamping” it to the lens board.
- The legs on the three-legged holder are arranged with two of the legs closer together. The section with the two closer together faces “forward” to the entrance of the filter holder.
- Assume the filter holder will fit “side ways”, that is, rather than the filters going in the front facing you, they go in from the left hand side, so we’ll arrange for the two closer legs to be to the left of the lens hole. This makes it easier to use the aperture opening preview arm.
- Cut out the long section that will be toward the back of the lens board, this makes it easier to fit the 3-legged holder when the lens is already mounted to the lens board. The gap makes room for 3 legged arm to slide on without hitting the preview arm.
- Use some small bits of sticky velcro to let me affix the 3-legged holder around the lens hole on the board. You don’t need loads, the holder is not heavy. Make sure the velcro does not get between the lens board and the lens.
Advanced Modifications
The tips below are higher risk and require physical, or software changes that will almost certainly void the warranty of your enlarger.
Compact Enlarger - Bluegrass Photography’s Nepla lens board
This replaces the bottom panel of the enlarger and swaps the integrated m39 mount out for a spring loaded lens mount that holds Durst Nepla compatible lens boards. Note that the boards are sold separately, you can buy one, or use a compatible vintage lens board.
This is a really great upgrade. Fitting mine was a bit more difficult than implied by the instructions. You need a well fitting alan key / hex wrench. Two of the screws on my original enlarger board were extremely tight. I almost completely stripped the head on one of them.
I also made one small adjustment to the nepla lens mounting ring I purchased from the Bluegrass Store. When mounted to a lens, and into the retaining clamp, I found the lens and ring would slip when changing aperture. To get around this I stretched a small strip of 1mm thick sticky backed light seal foam around the edge of the lens ring. This is just enough to prevent slipping.
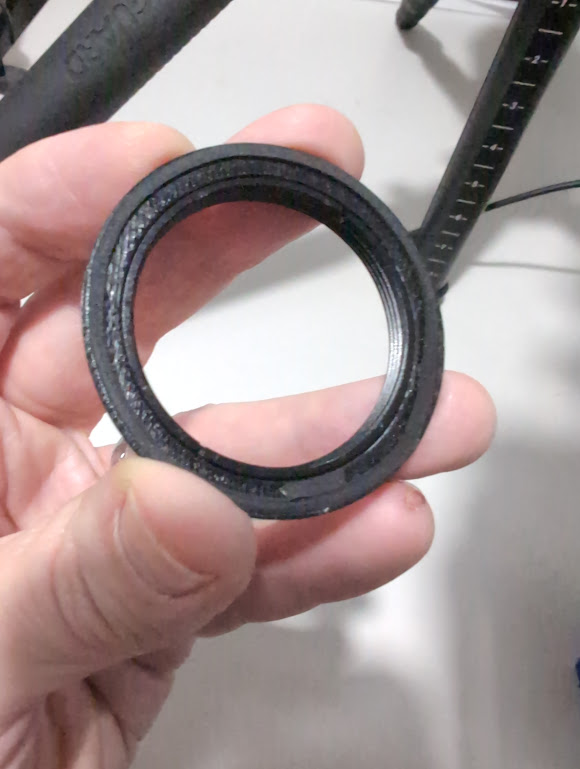
1mm light seal foam added to ring to help with grip
Timer - F-Stop printing firmware
I have personally found that my quickest route to a good exposure, and understanding of the contrast in my print has come via f-stop printing. The idea is relatively simple but producing and f-stop test strip, or adjusting exposure via f-stops can be awkward with the simple +/- adjustments of the Intrepid enlarger timer firmware.
To make the process easier I have developed my own custom firmware for the purpose. It is less easy to use than the default firmware, and at this time does not currently support the easy contrast grade settings of the original firmware (hence why I use filters
The firmware is freely available and can be found here
I find the test strips work particularly well if you can use a test strip printer that allows you to slide the paper so that each patch of the test strip comes from the same area of the negative. I use this one by DistPhoto, but there are vintage version, and also some 3D Prints that achieve the same objective.
comments powered by Disqus