Five Frames with Vintage Glass
Note: This post has been written for 35mmc, and will be removed from this site once it is published there
While an analogue photography habit can help us avoid the relentless tide of technological progress, it would be delusional to suggest it helps us (or me at least), avoid Gear Acquisition Syndrome. Despite owning most varieties of medium format cameras and a lovely MPP Technical 4x5, I recently found myself re-watching Martin Henson’s excellent videos featuring his beautiful Voigtlander Bergheil plate camera. As much as I enjoy the ground glass workflow of a large format camera, the MPP is too big to venture far from my home. And so I was inevitably drawn back to the well known auction site in search of something to fill this minuscule gap in my camera collection, a compact medium format view camera.
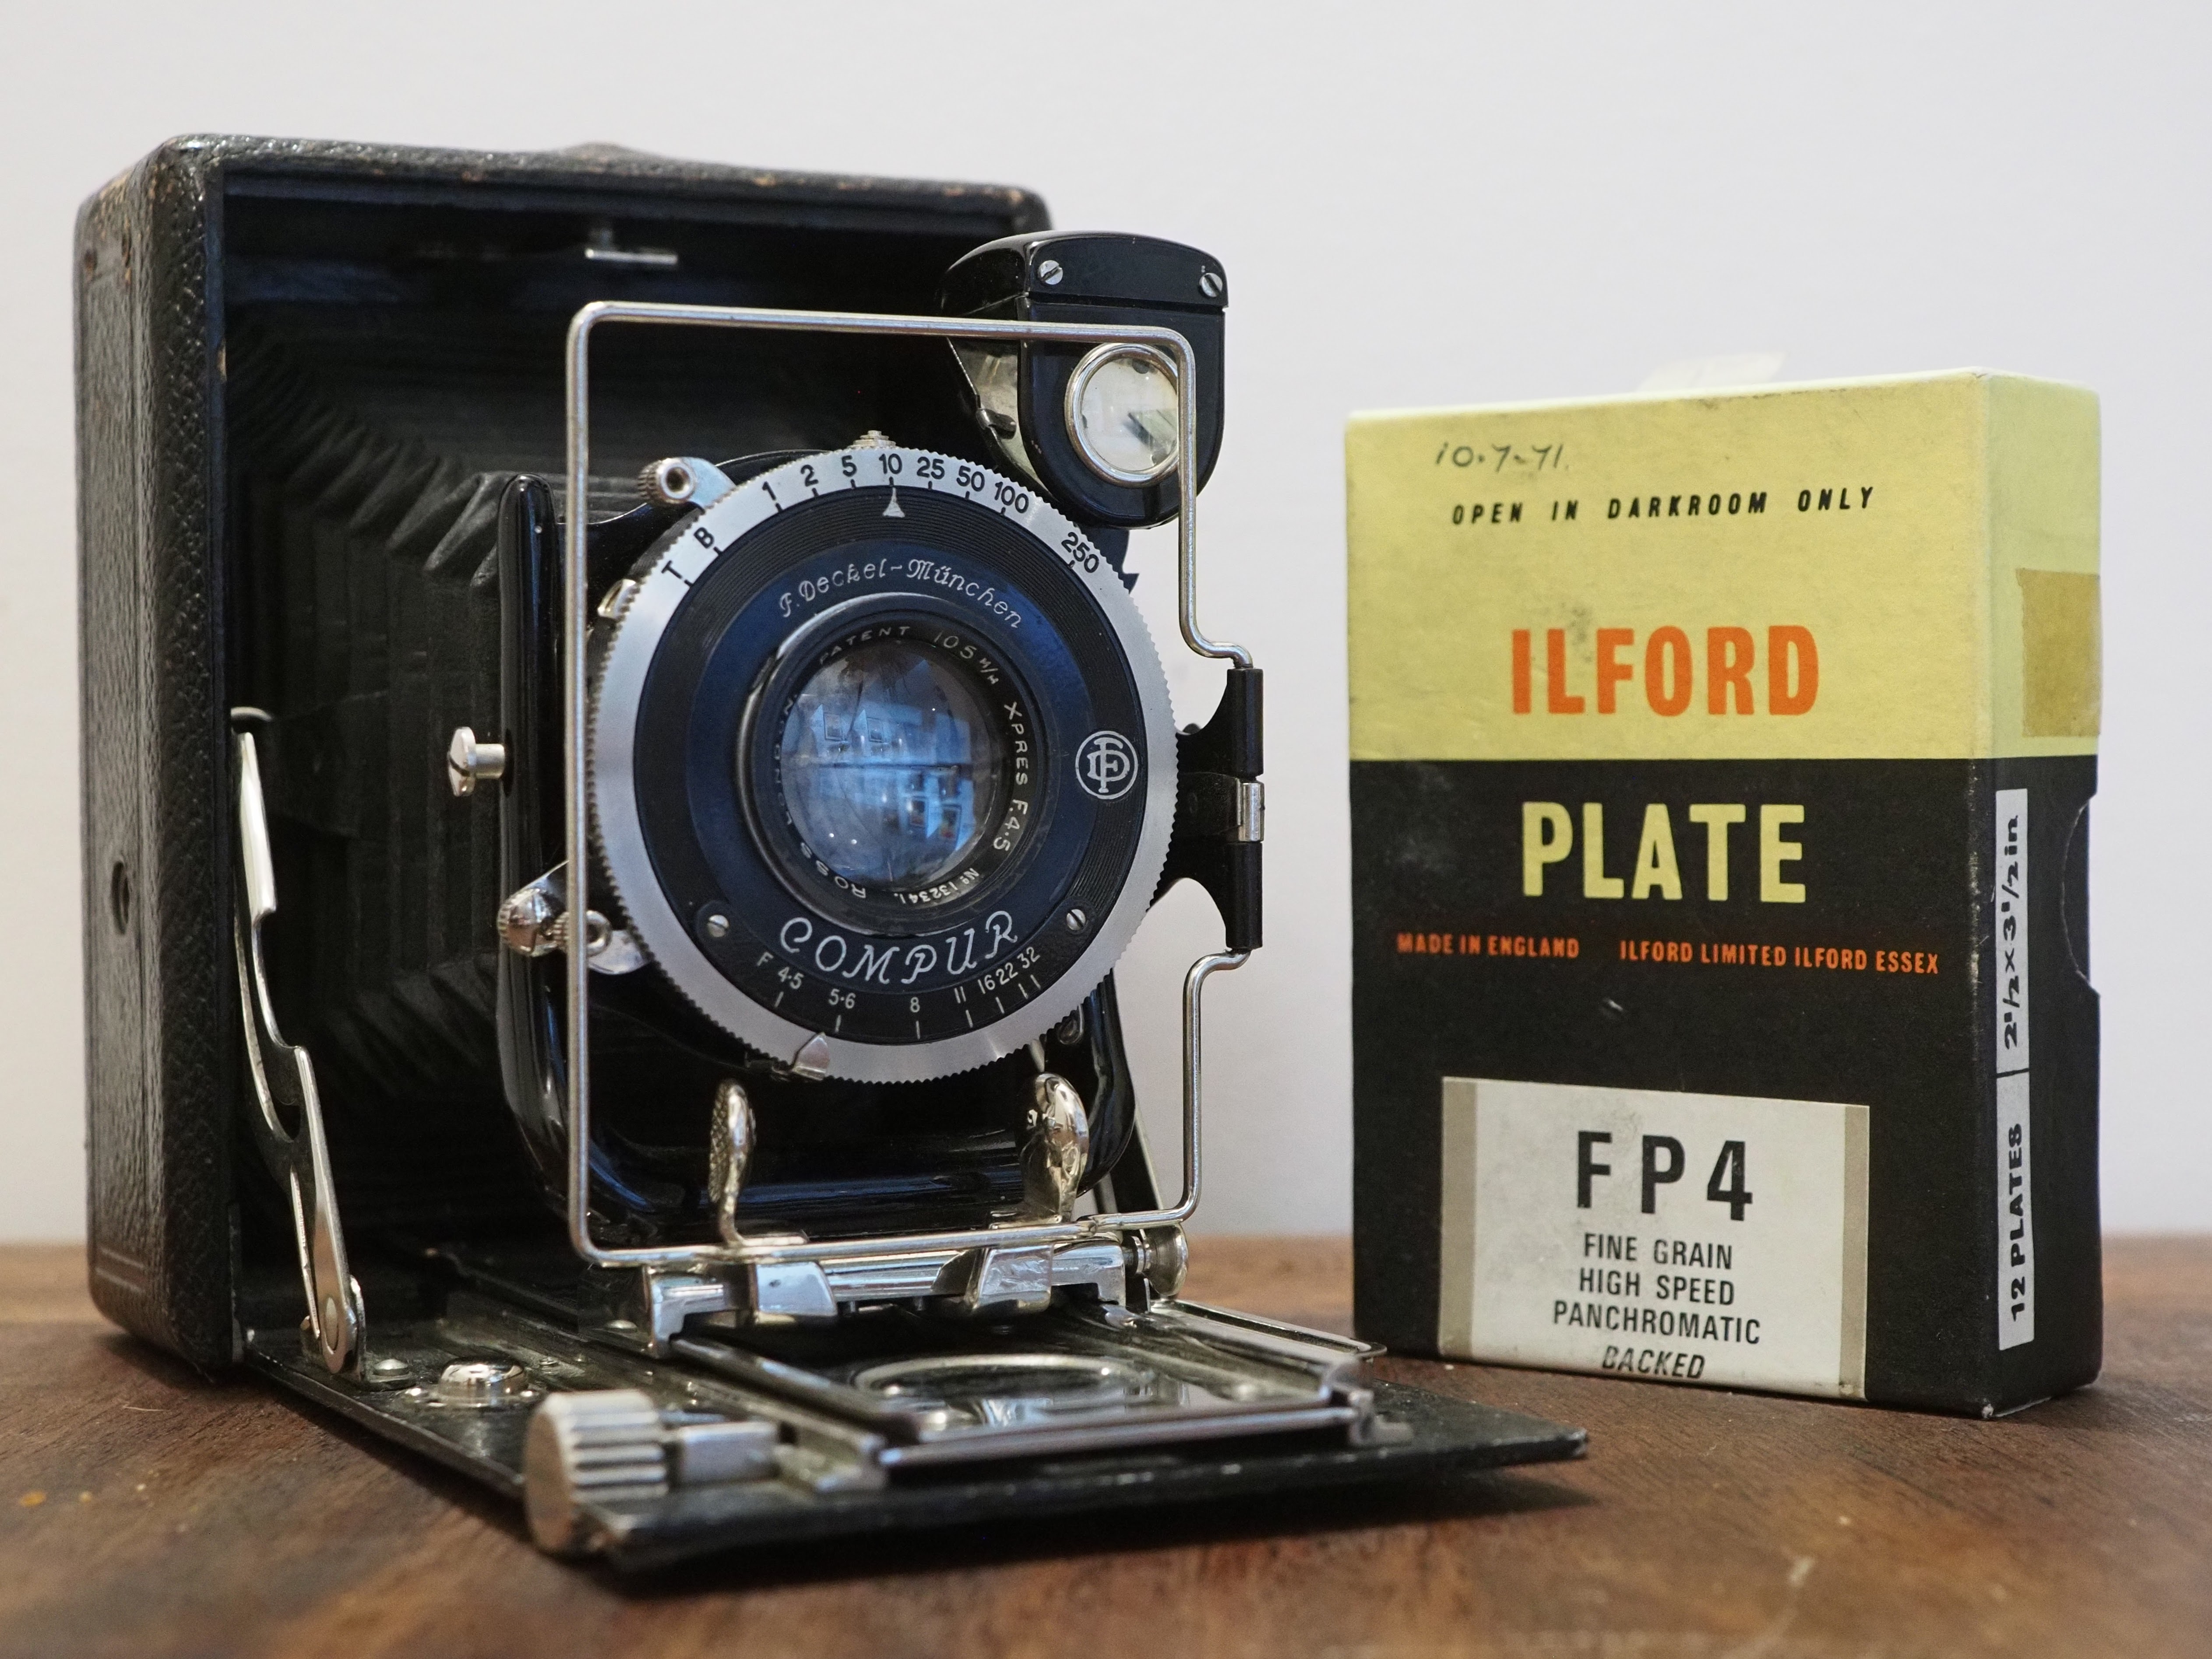
Martin’s Bergheils fetch high prices, but my search turned up the camera shown above, a Houghton Butcher Ensign Cameo 1/6th plate (6x9) with double extension bed and front rise and shift. The price seemed fair and the camera was soon mine. It turned out to be a bargain, with bellows in excellent condition, clean metalwork, and the most modern shutter available on the model in perfect working order. I was lucky in finding a roll film back that fitted perfectly, and the initial test roll confirmed that not only was the camera in excellent condition, but also showed the 105mm Ross Xpres Lens to be superb.
As lovely as the lens is, it is not the “Glass” referenced in the title of this article. For that we have to turn to the other item that was bundled with the camera: a box of 6x9 Ilford FP4 glass dry plates. FP4 is the precursor of our modern FP4+. It was a 160 ISO fine grained emulsion. The word “BACKED” on the box refers to a soluble anti-halation layer on the back side of each plate that was an optional extra on all of Ilford’s glass plates. Writing on the box hints that the plates were either acquired, or expired around July of 1971, some 54 year earlier than these tests and 6 years before I came into the world. Online sources stated that Ilford ceased production of glass plates in the mid 1970’s, making these some of the freshest plates for this camera I could ever find. They had not been a factor in the the original purchasing decision but here they were. The original listing had stated confidently that they were unexposed. It seemed sensible to at least check the claim.
Testing the Plates

Contents of the box. The plates are packed in fours, two pairs of plates facing emulsion side in with a white cardboard separator over the edges. wrapped in a thick light tight paper.
With only 12 plates and with them being so old, I did not want to go straight ahead with a test exposures. I have some prior experience with sensitometry1 That’s some text with a footnote.
tests of 35mm roll film, so with that in mind I developed a plan. The first big decision was to choose a developer. I had recently acquired a bottle of Kodak’s HC110 which is well regarded for minimising base fog. Unlike my regular developers it is also extremely popular with many users publishing development times online. I settled on HC110 dilution B (1+31), and Ilford’s FP4+ time of 7 minutes as a first guess.
It was not my intention to try and establish a true ISO or plot a H&D curve, but just to find a ball park ISO that would get me usable exposures. To do this we need a light source that can be accurately controlled such as an enlarger (I use my Intrepid Compact Enlarger). We also need to be able to measure the strength of our light source. You can use a Lux meter but many regular light meters such as my Minolta Flash IV can be used as a crude Lux meter by using ISO100 EV reading (EV being easily convertible to Lux). The Minolta even has a flat lumisphere for the purpose.
Establishing an initial exposure time is straightforward, but does require a little maths. ISO100 material requires 0EV for 1s. To avoid reciprocity failure we try and keep the exposure time under 1s, so we could opt for 1EV for 0.5s (all EV number given here are metered at ISO100). Using the often quoted rule of thumb of 1 stop per-decade, we’d expect our original ISO of 160 to have reduced to around 5. In reality this rule has no real basis in theory. Age related emulsion fogging is caused largely by radiation exposing the emulsion over time. Slower films often perform significantly better, and well stored film may see little to no slow down at all. I opted to expose my first plate at an ISO of 50, using the logic given about we can use an exposure of 2EV for 0.5s.
We also need a transmission step wedge, this is a sort of reference negative with patches of increasing density. I use a Stouffer T2115, with 21 half-stop patches. I made a small contact printer using an old cleaned 4x5 glass plate, some matt board, and electrical tape for a hinge. I affixed my Stouffer T2115 to the inside, emulsion facing down. I set up my enlarge to provide an even light over the area the plate would sit in and adjust the enlarger height and lens aperture to give me the 2EV at an aperture of f/5.6 (to make it easier to stop down or open up if the exposure needs adjustment). Exposure must be measured through the glass of the contact printer, and on the same plane the material being tested would sit on during the exposure.
All that was left to do was to turn off all the lights, make my exposure and develop my first plate. Since FP4 is pancromatic the whole process must be completed in complete darkness. I turned off the lights, opened the box unwrapping the first bundle of 4 plates, lifted the first plate into position in the contact printer, tucked everything else back into its box and hit Run.
You can go through a lot in half a second. Up until this point I did not know if these plates had already been used. The brief flash had shown the dull grey of a clean undeveloped silver gelatin emulsion!
Back in total darkness, I dropped the exposed plate into the first tray, giving it the preordained seven minutes, gently lifted it into the stop, and onward into the fix. Turning on the lights in time to watch the plate clear in the tray. The first result was a mix of excitement and disappointment in near equal measure. The plate on the right here was my first exposure.
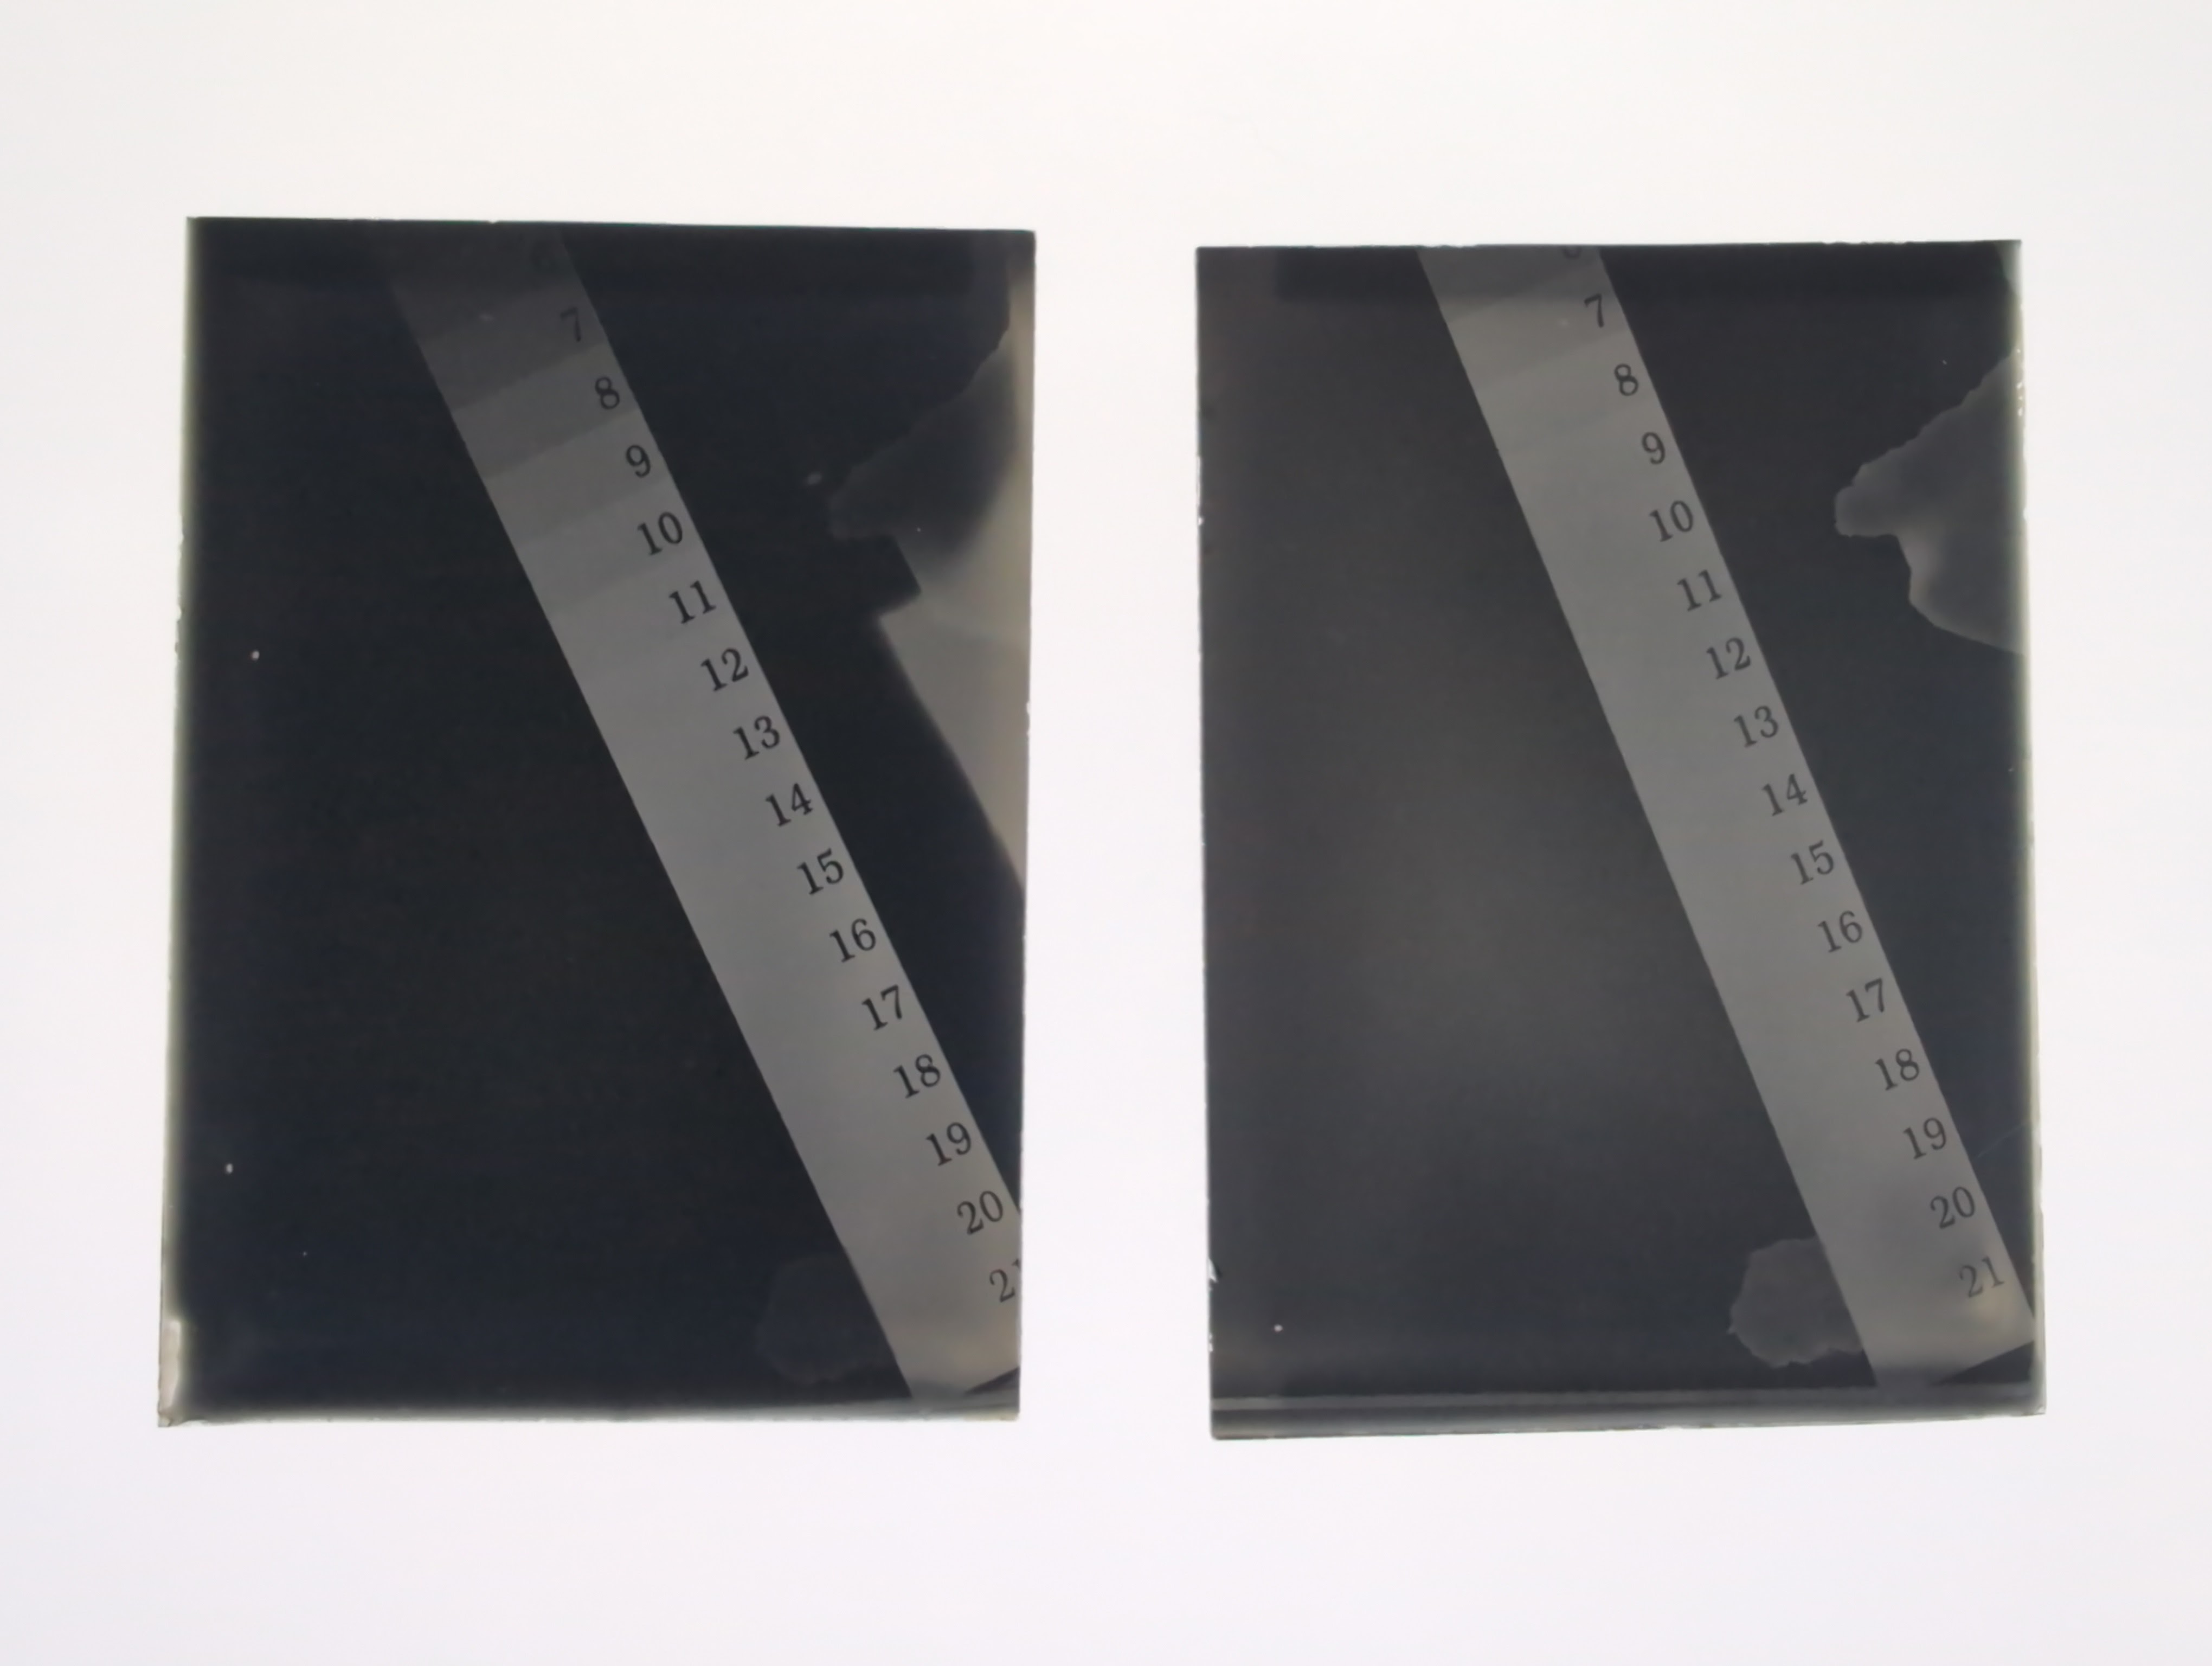
My first two plates, exposed directly under an enlarger with a step wedge.
The plate was clearly heavily fogged, yet the outline of the step wedge was there with traces of tones at the very end of the wedge. Clearly more exposure was needed, I opened the lens on the enlarger wide open and exposed a second plate. After exposure and development this second plate came out much denser with more of the wedge visible. There was enough of the wedge visible for me to estimate how much more exposure would be needed. My final estimate showed the plates needed to be exposed at an ISO between 2 and 3.
The first Photograph
The testing had shown that the plates were capable of taking some semblance of an image but I still needed a way to use them. The camera had not come with any actual plate holders so it was back to the auctions, and after a couple of mis-purchases, a set of suitable holders in functional condition were acquired.
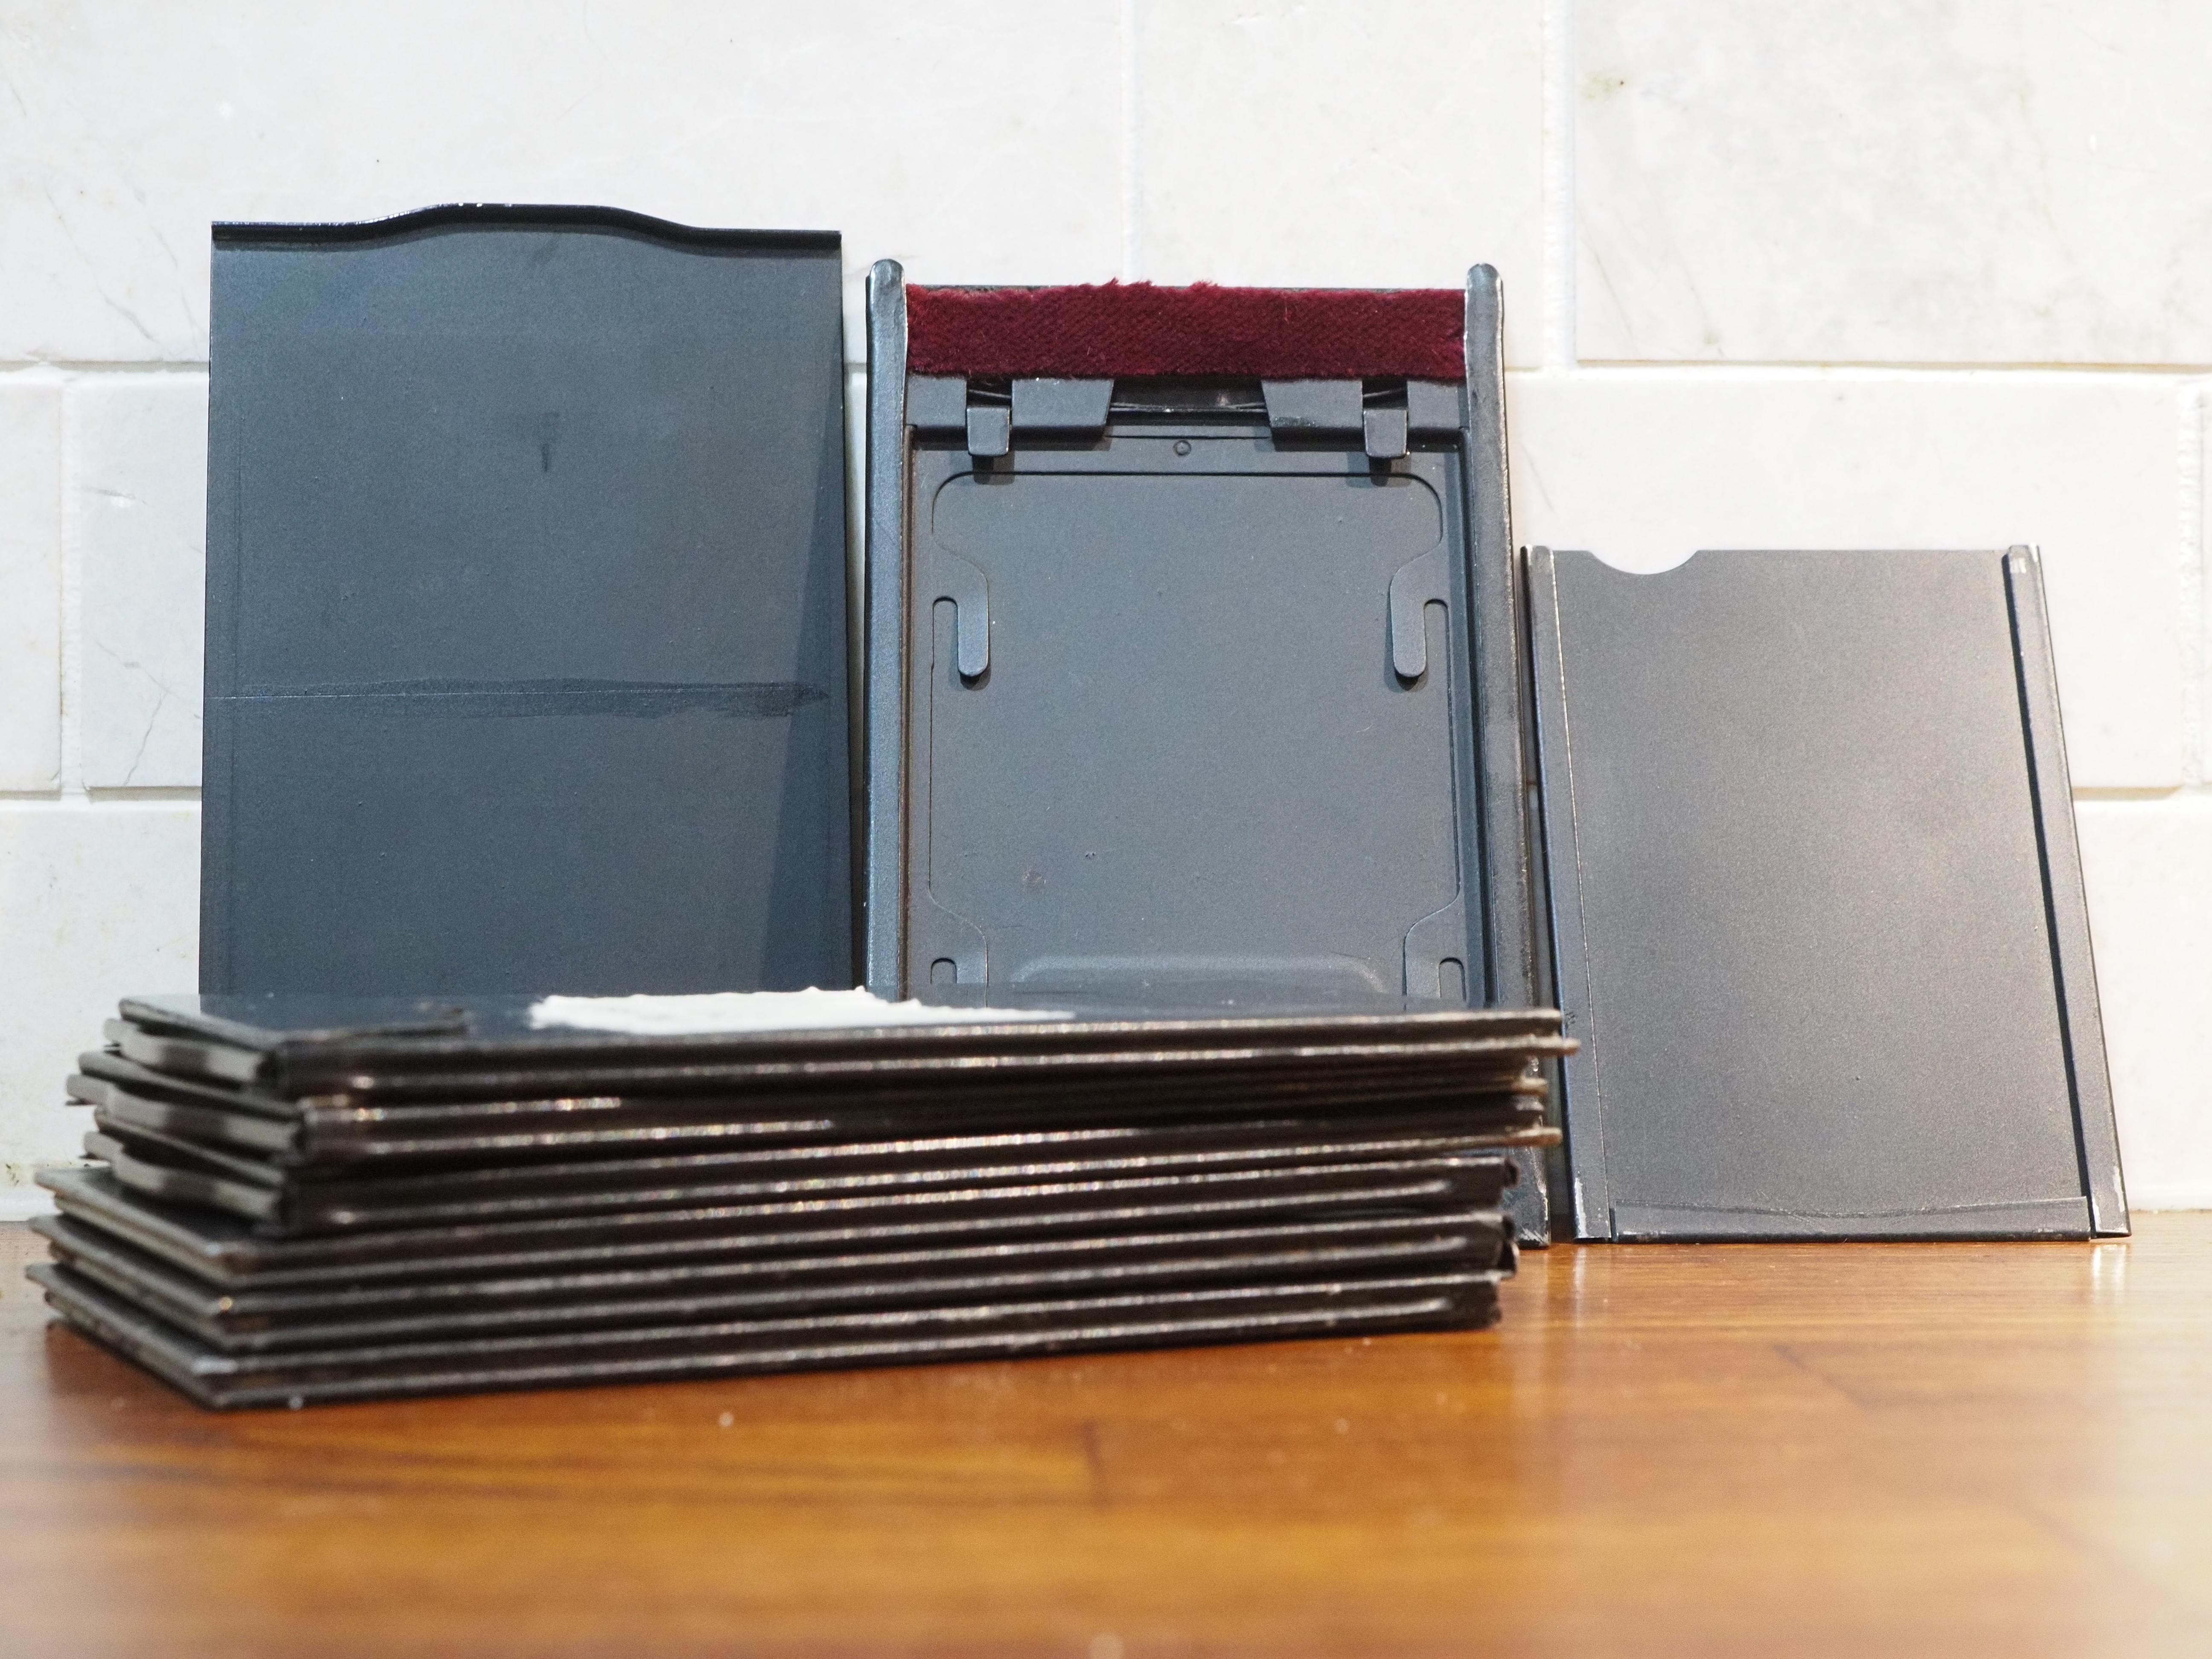
Glass plate holders. The light seals are made from a very long red felt. Also shown is a film sheet insert for one of the holders.
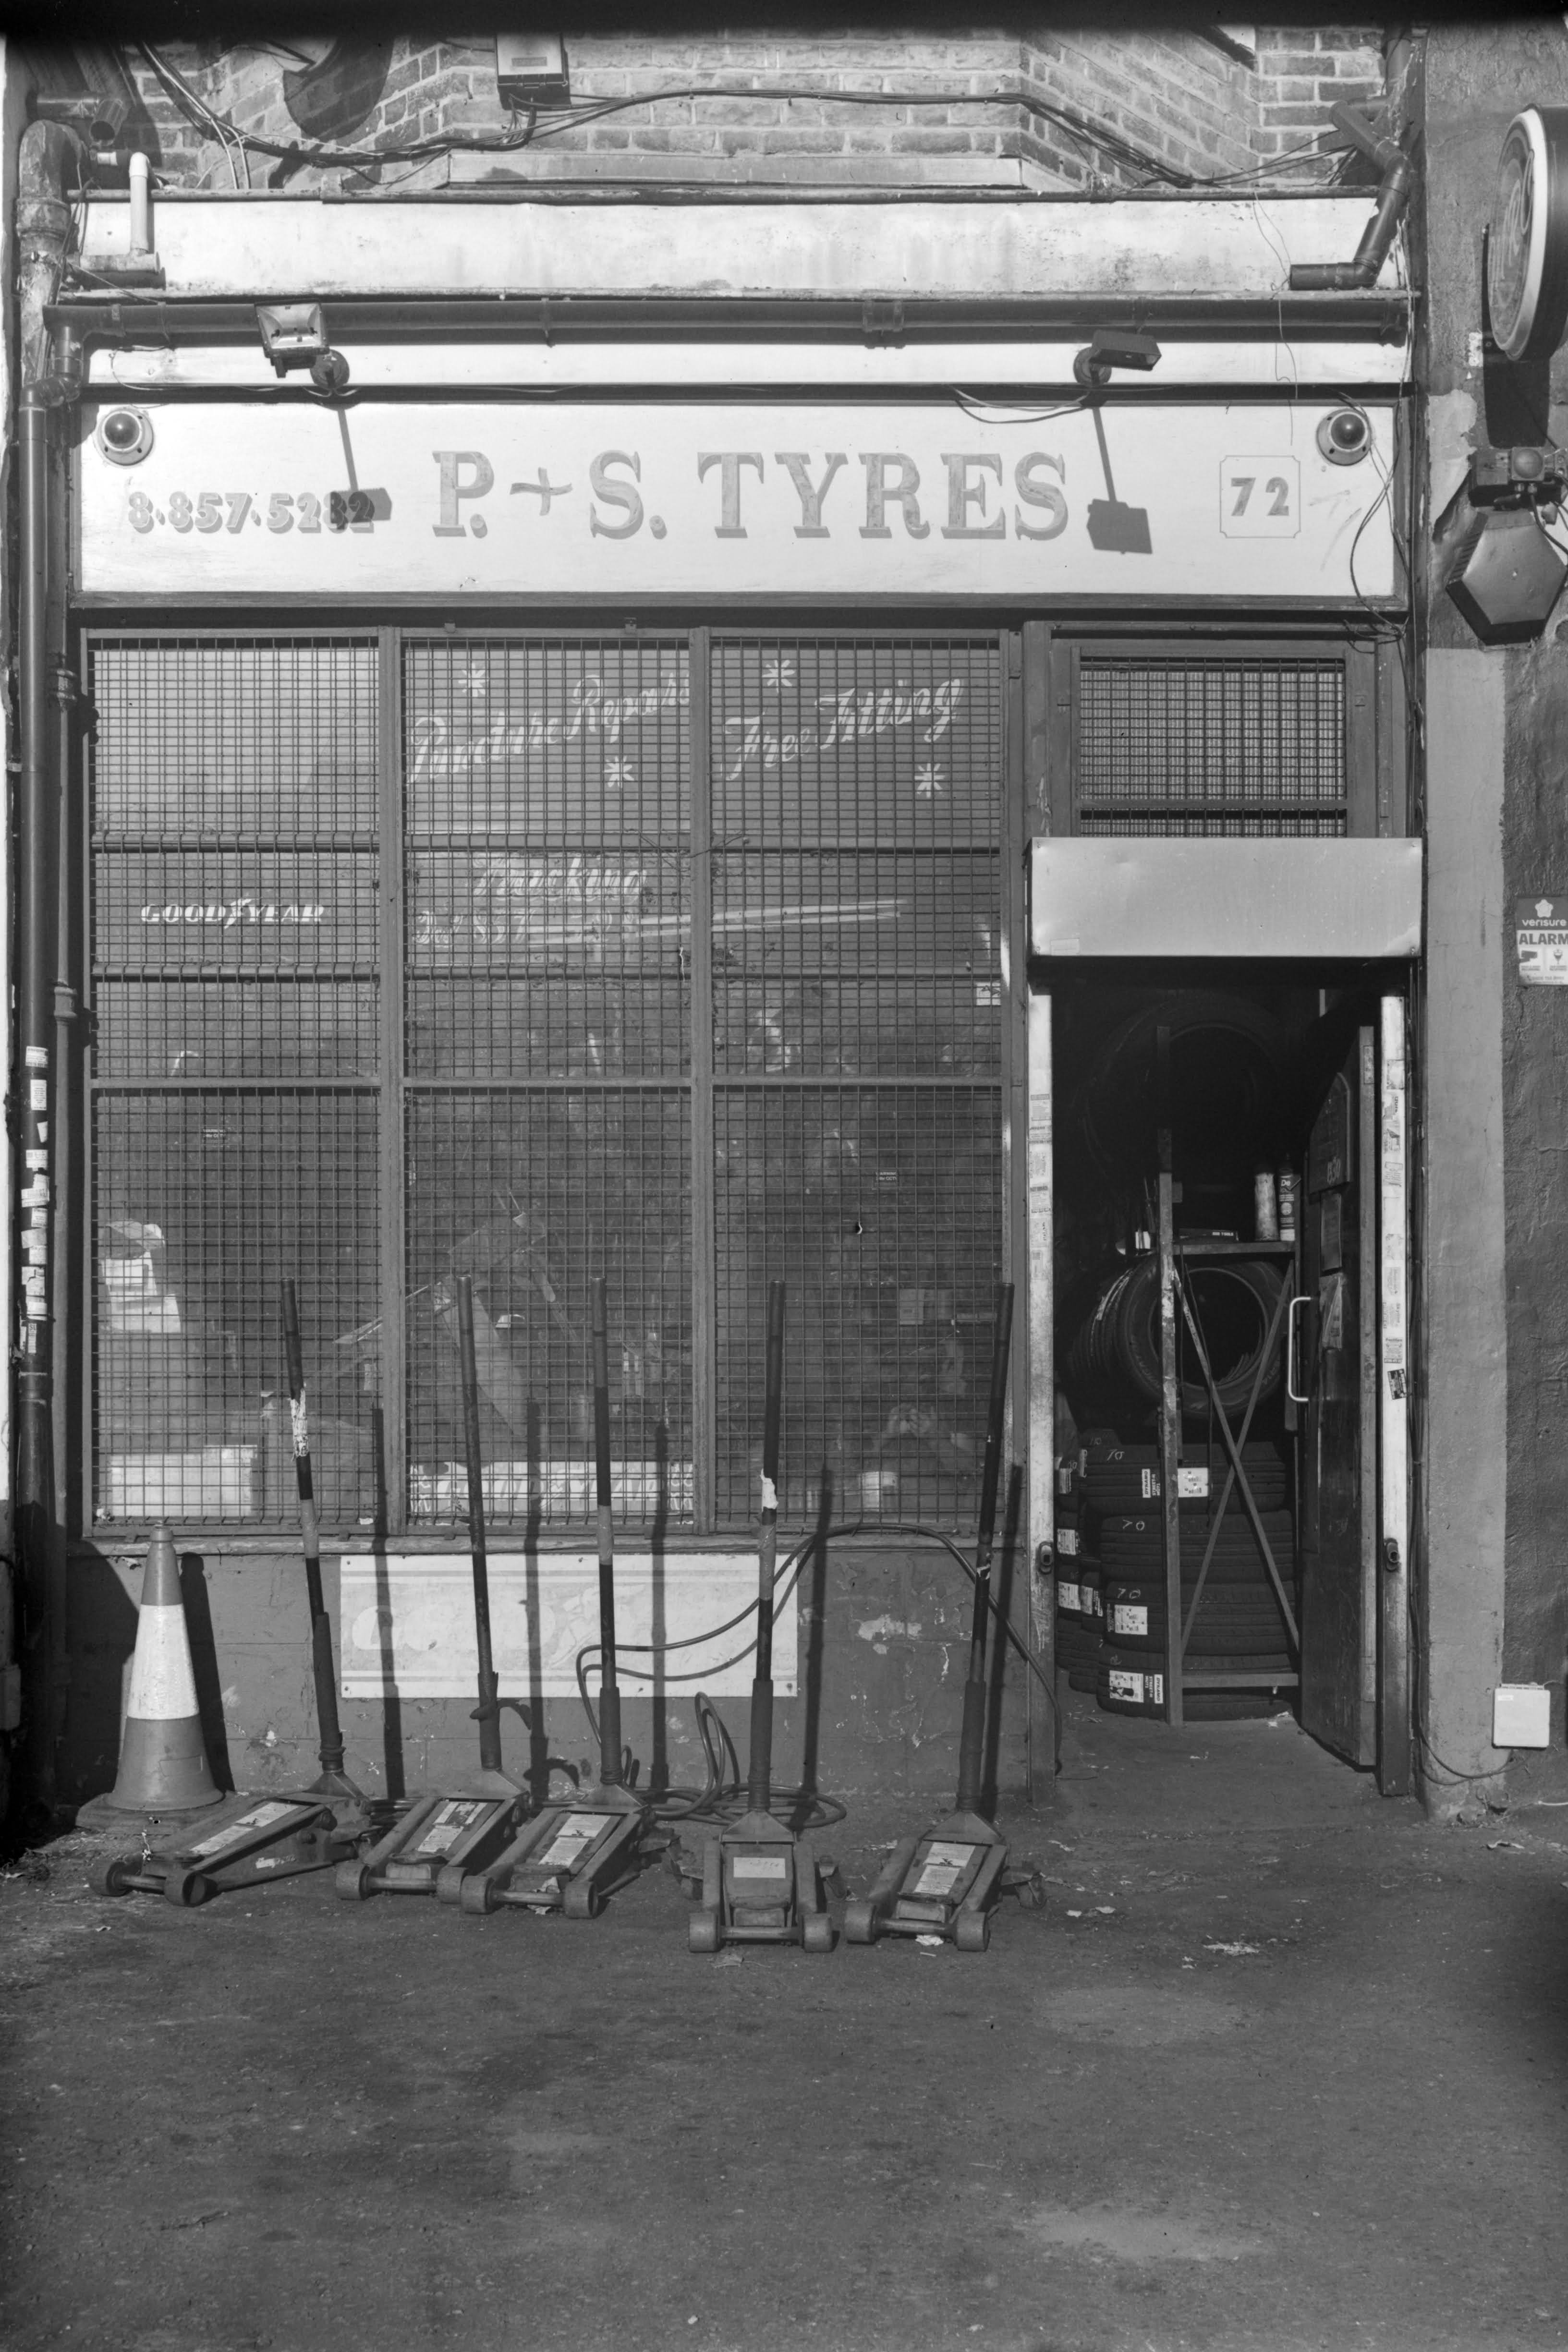
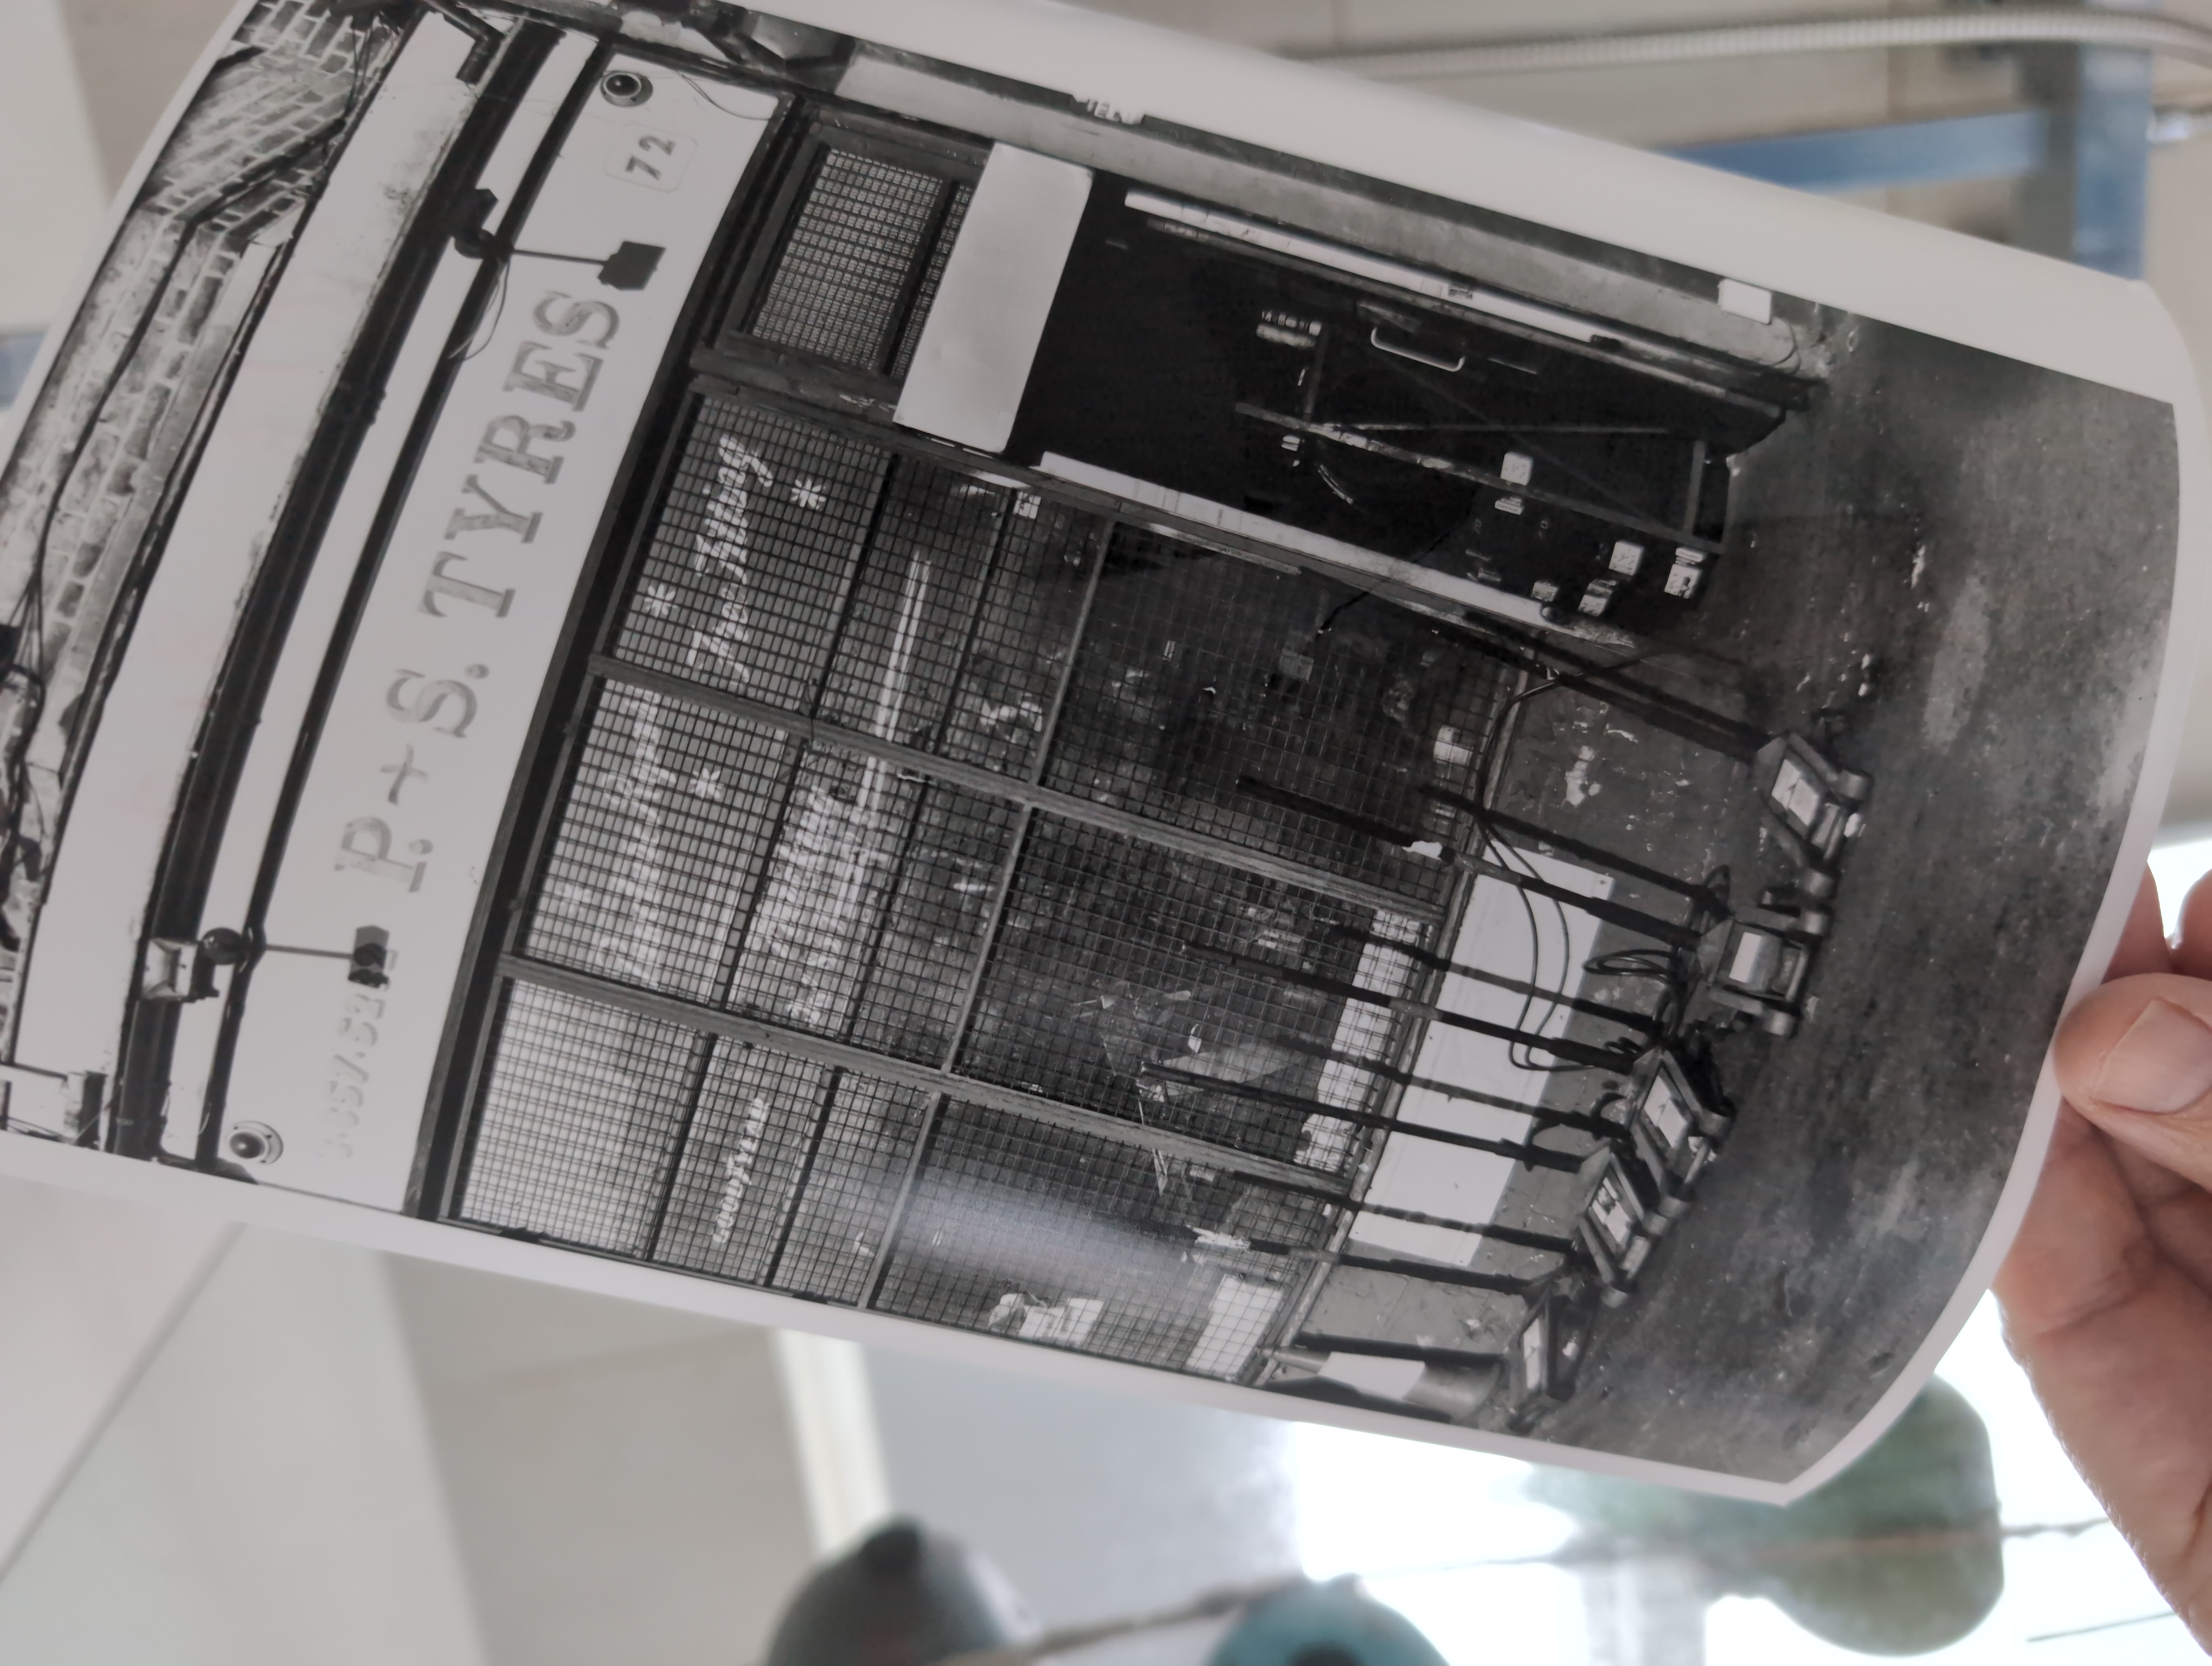
Finally I could head out with the camera, loaded plate holder, and tripod to take my first real exposure. There is a very photogenic tyre repair shop a minute away from my home which has served as a test subject for many of my photographic adventures. I settled on ISO2, had the mandatory vintage camera chat with the folk that work there, and took the photo. That evening I setup my dark room once again and developed the plate.
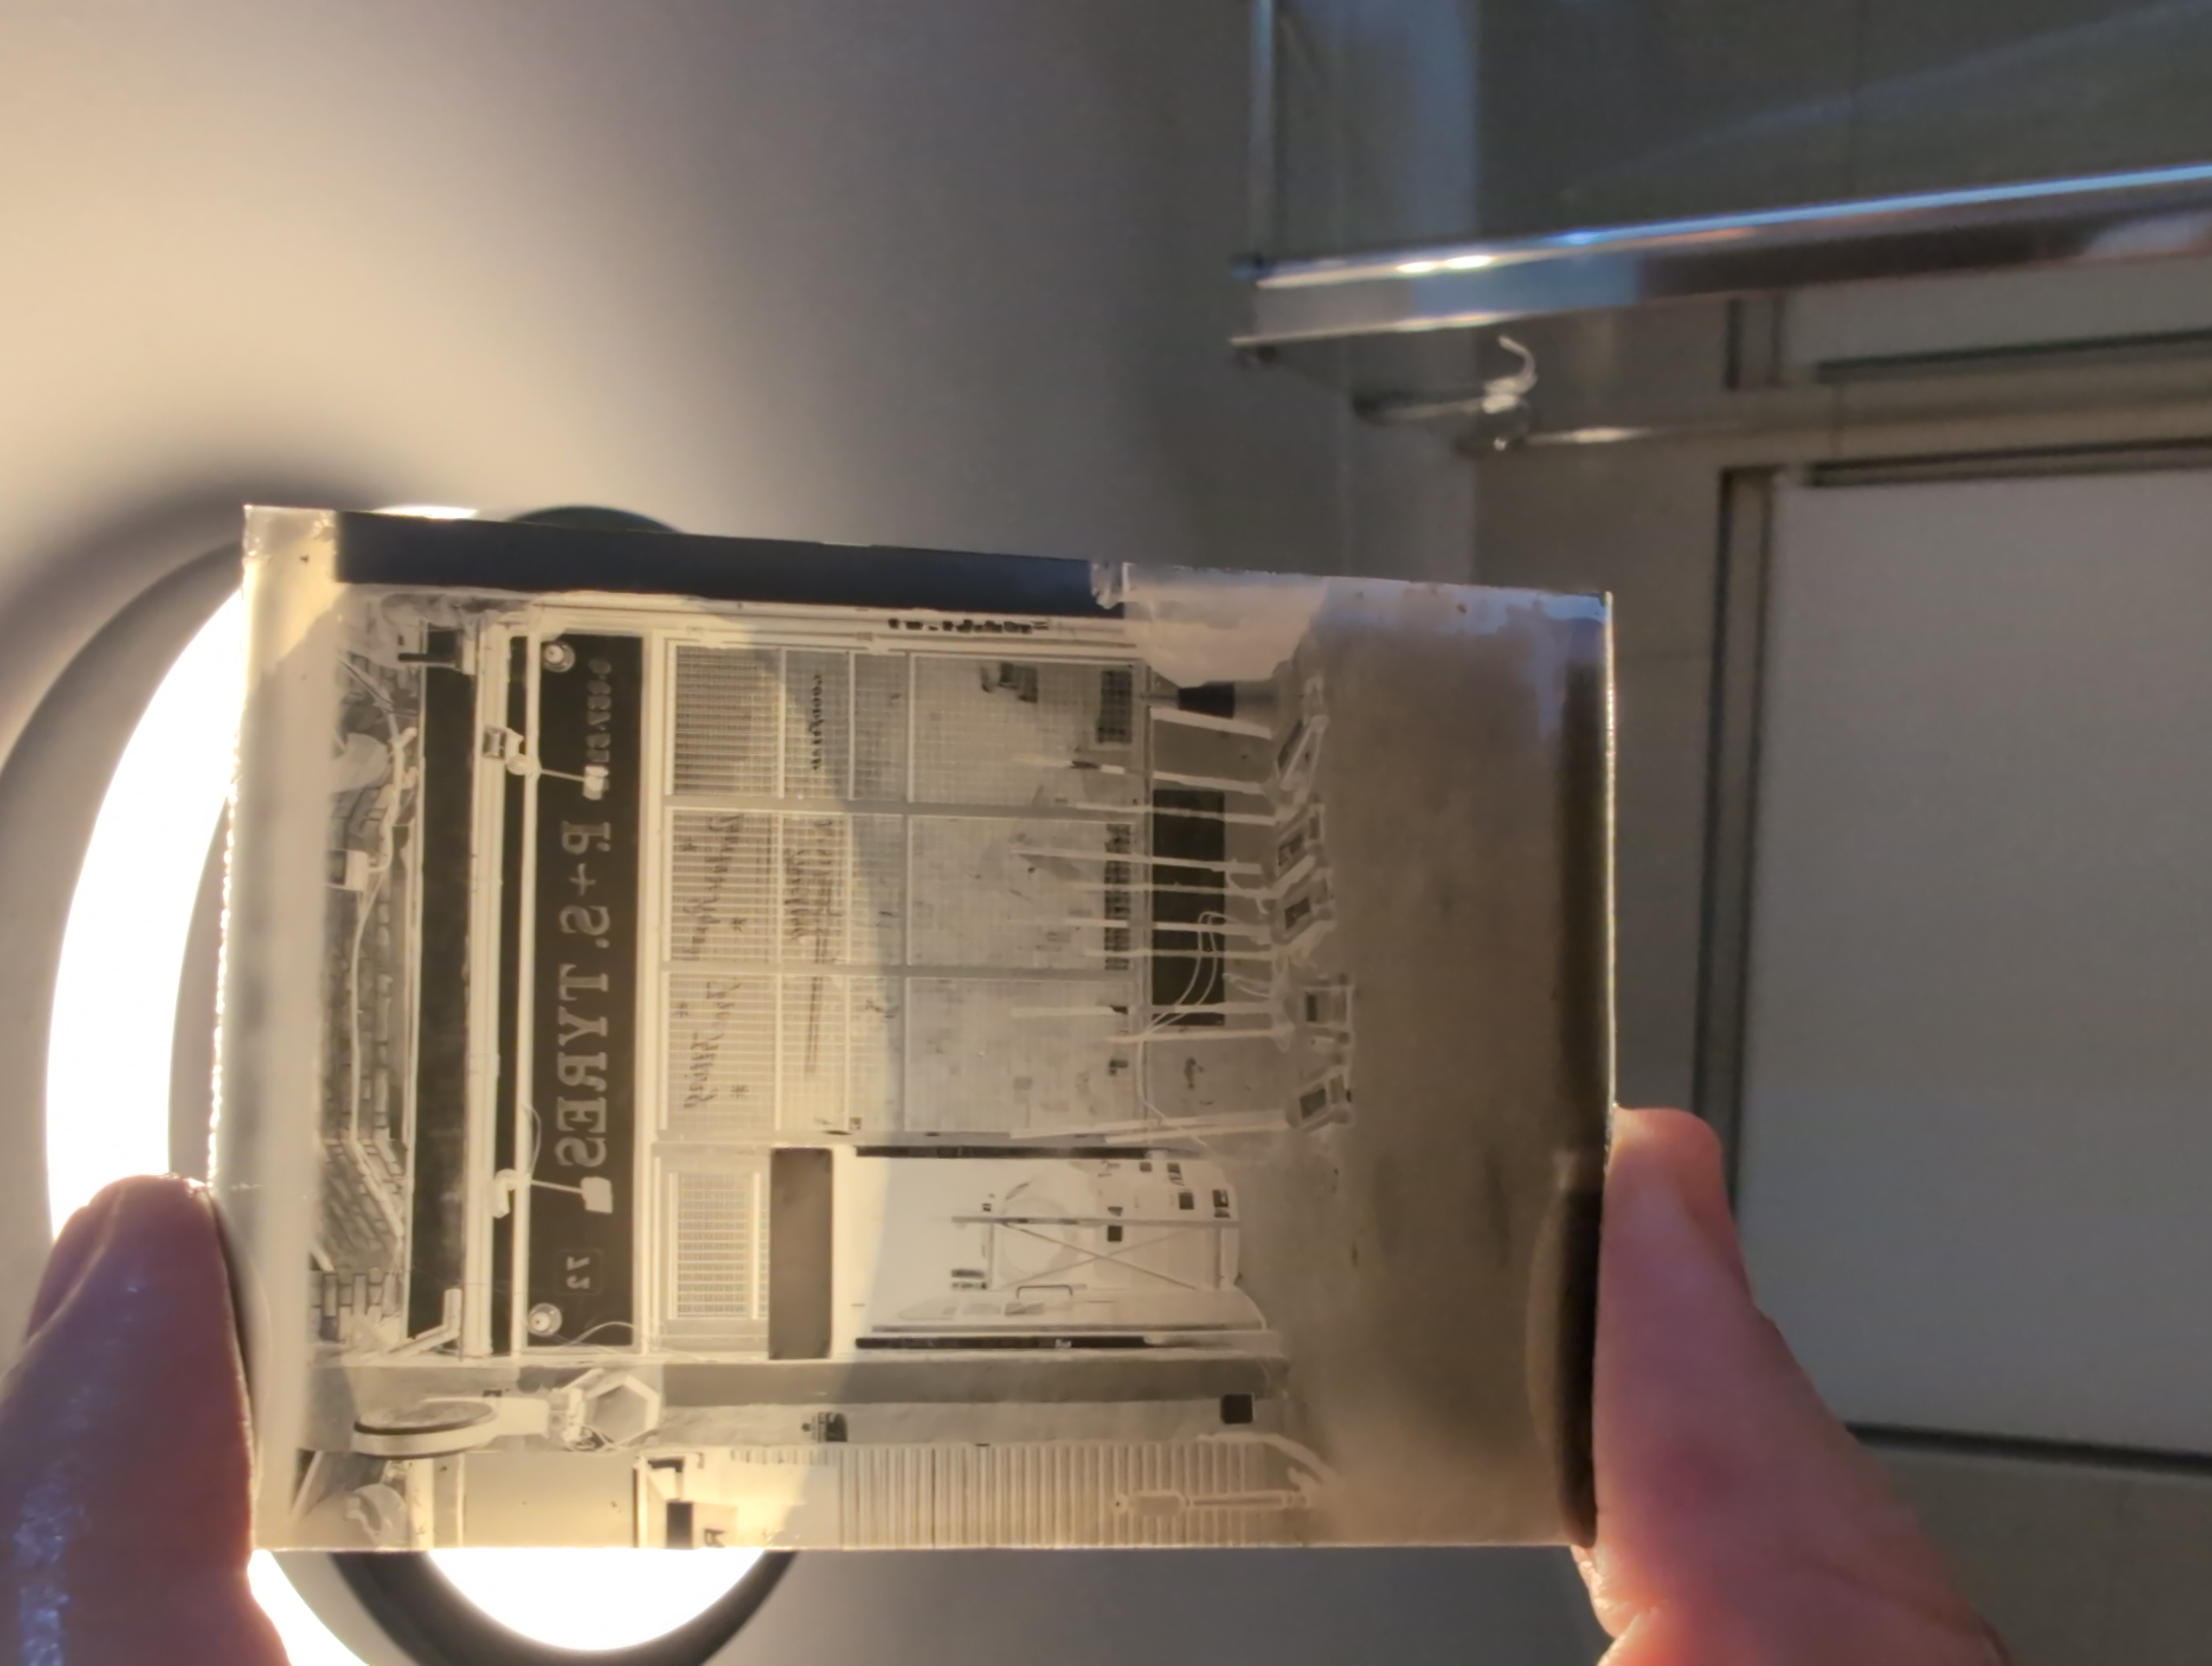
The freshly fixed plate
Scanned and inverted
The final plate looks excellent. The scan showed a good amount of shadow detail, and shows off the quality of the lens nicely. The heavy base fog was still present, but there were dense highlights giving significant contrast.
With my first real success under my belt I loaded up four more plates and took them with me on our next trip out with our dog over to to the London Borough of Greenwich.
When processing I attempted to process two plates at a time. This was a mistake. The 6x9 glass plates are very light and move around easily in the liquids which is hard to deal with in the dark. This resulted in several collision which resulted in some damage to the emulsion. In addition some of the exposure with large sky areas show up lots of dark spots. These are either particulates getting into the trays during the processing, or perhaps an age related defect in the emulsions. These are more evident on some plates rather than others. I have preserved the imperfections in these scans for journalistic integrity, though will confess to having cloned them out in my personal copies.
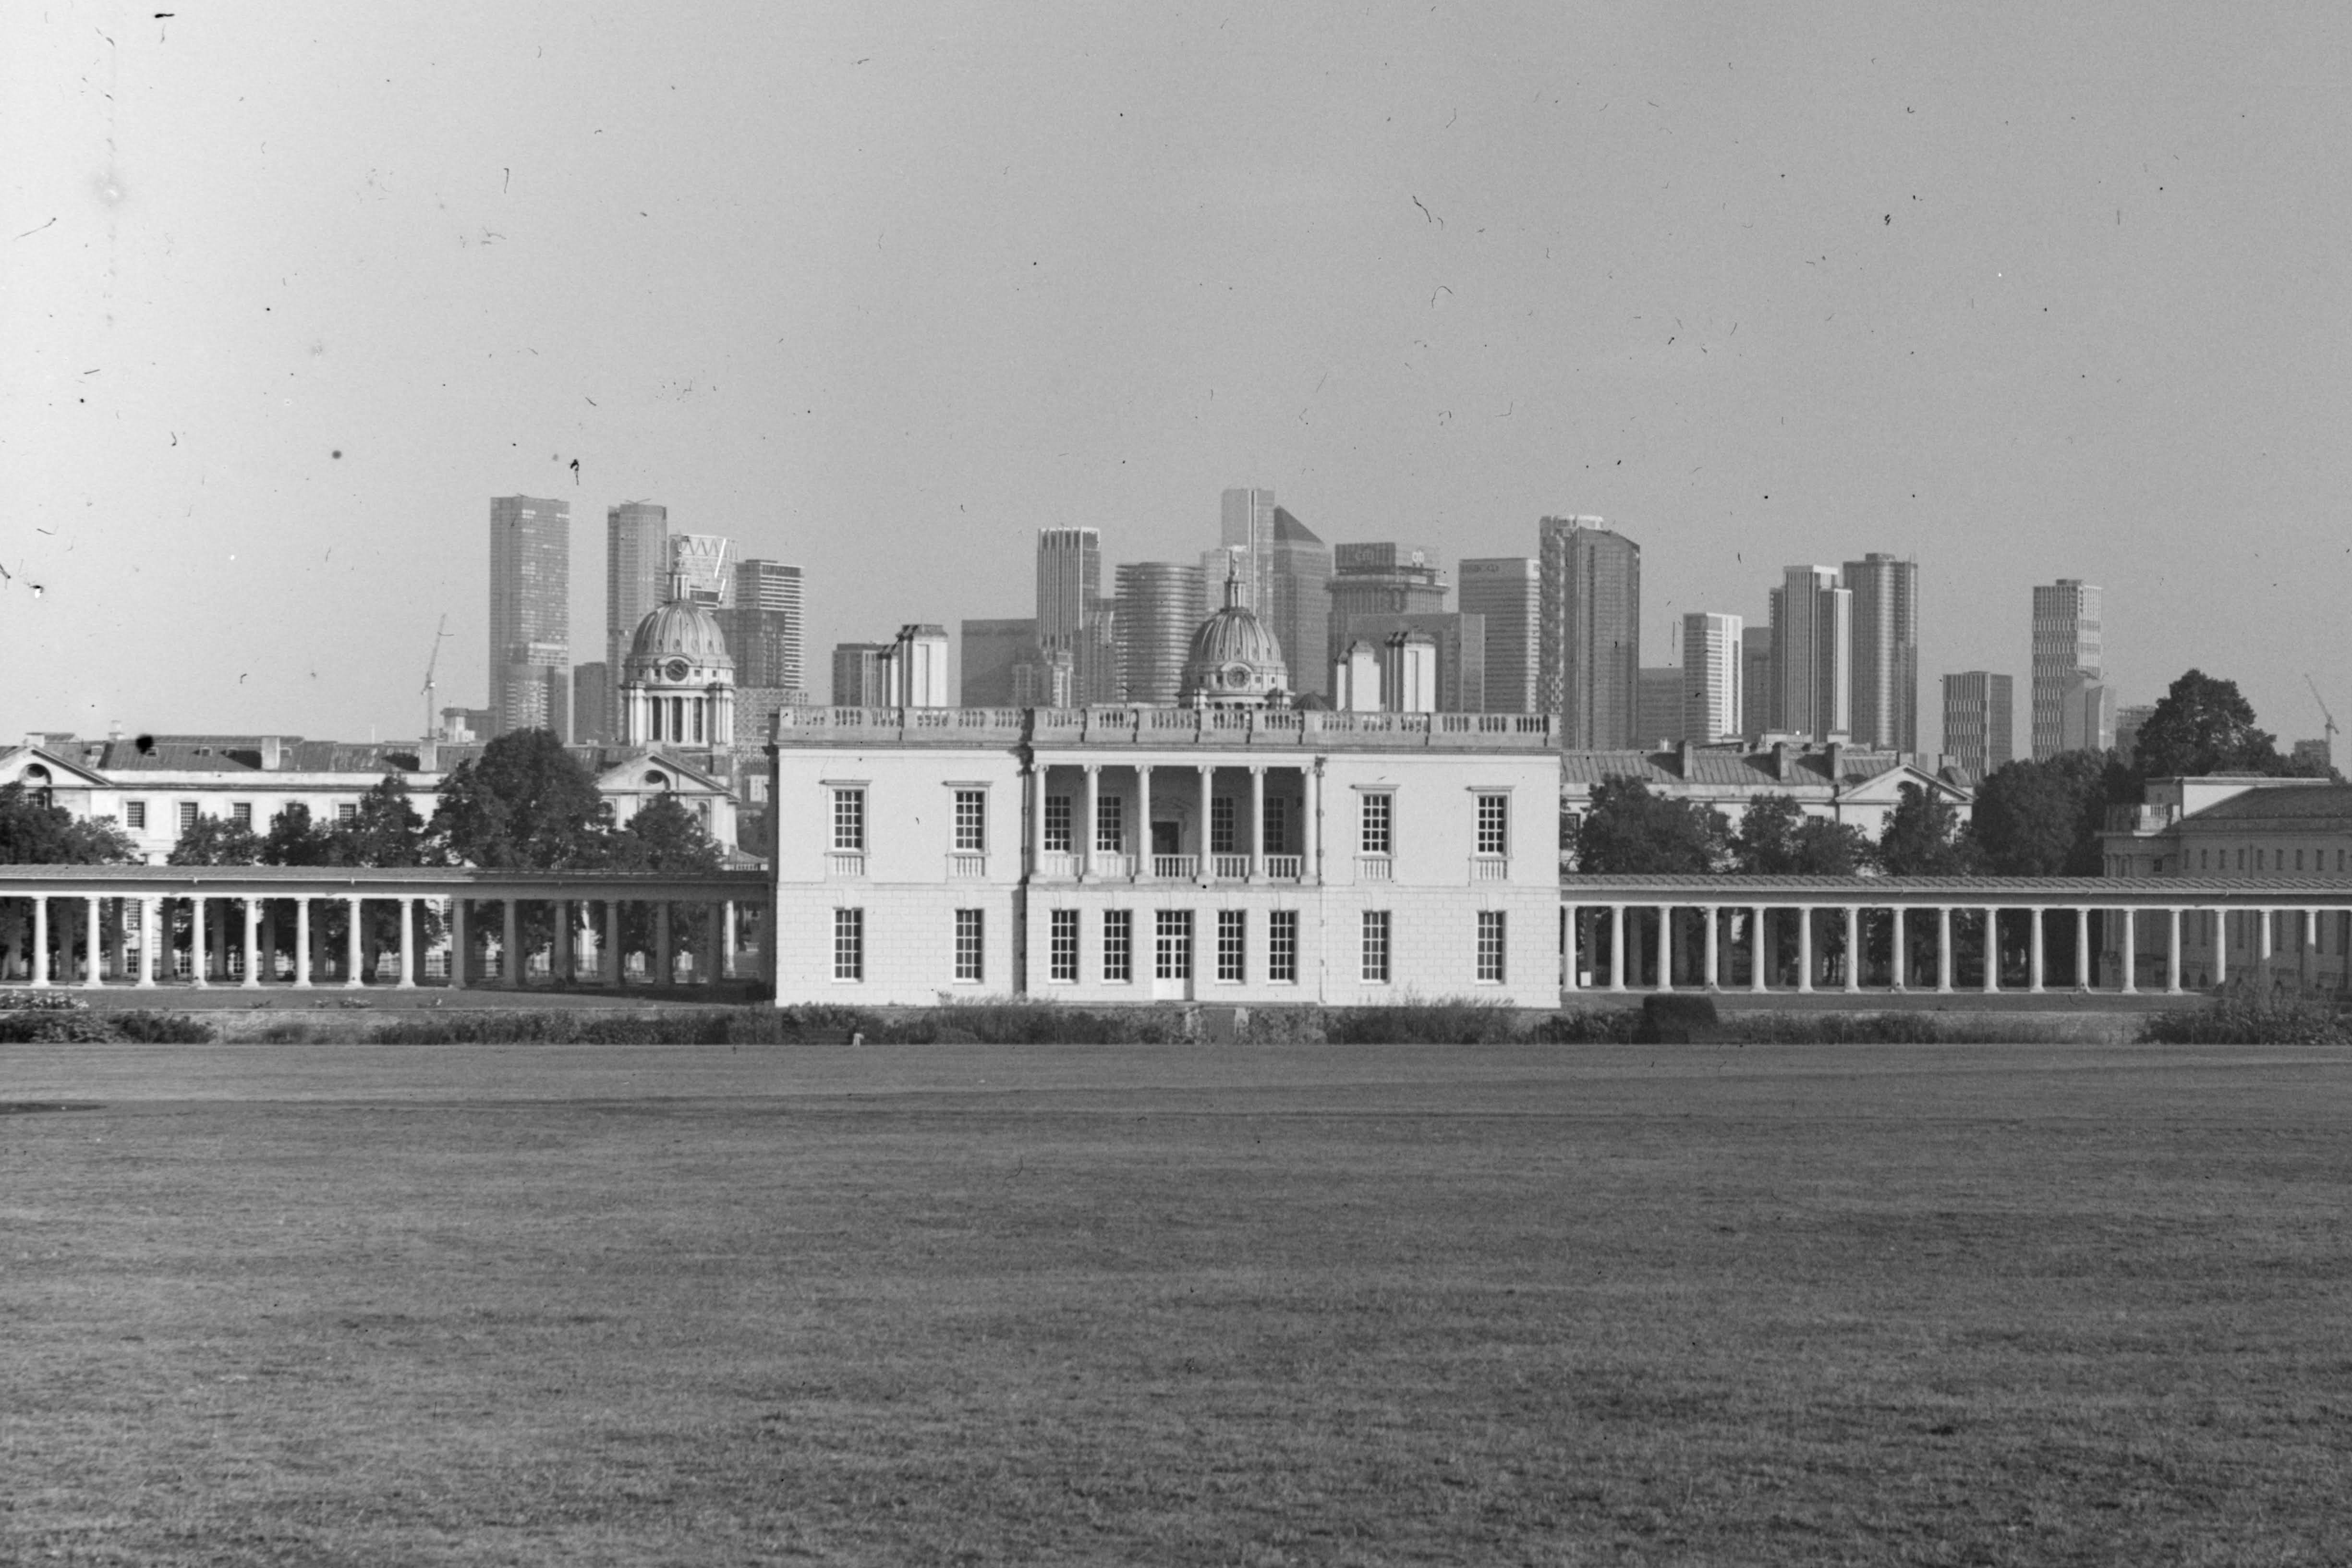
A view of The Queen’s House overlooking the Royal Naval College
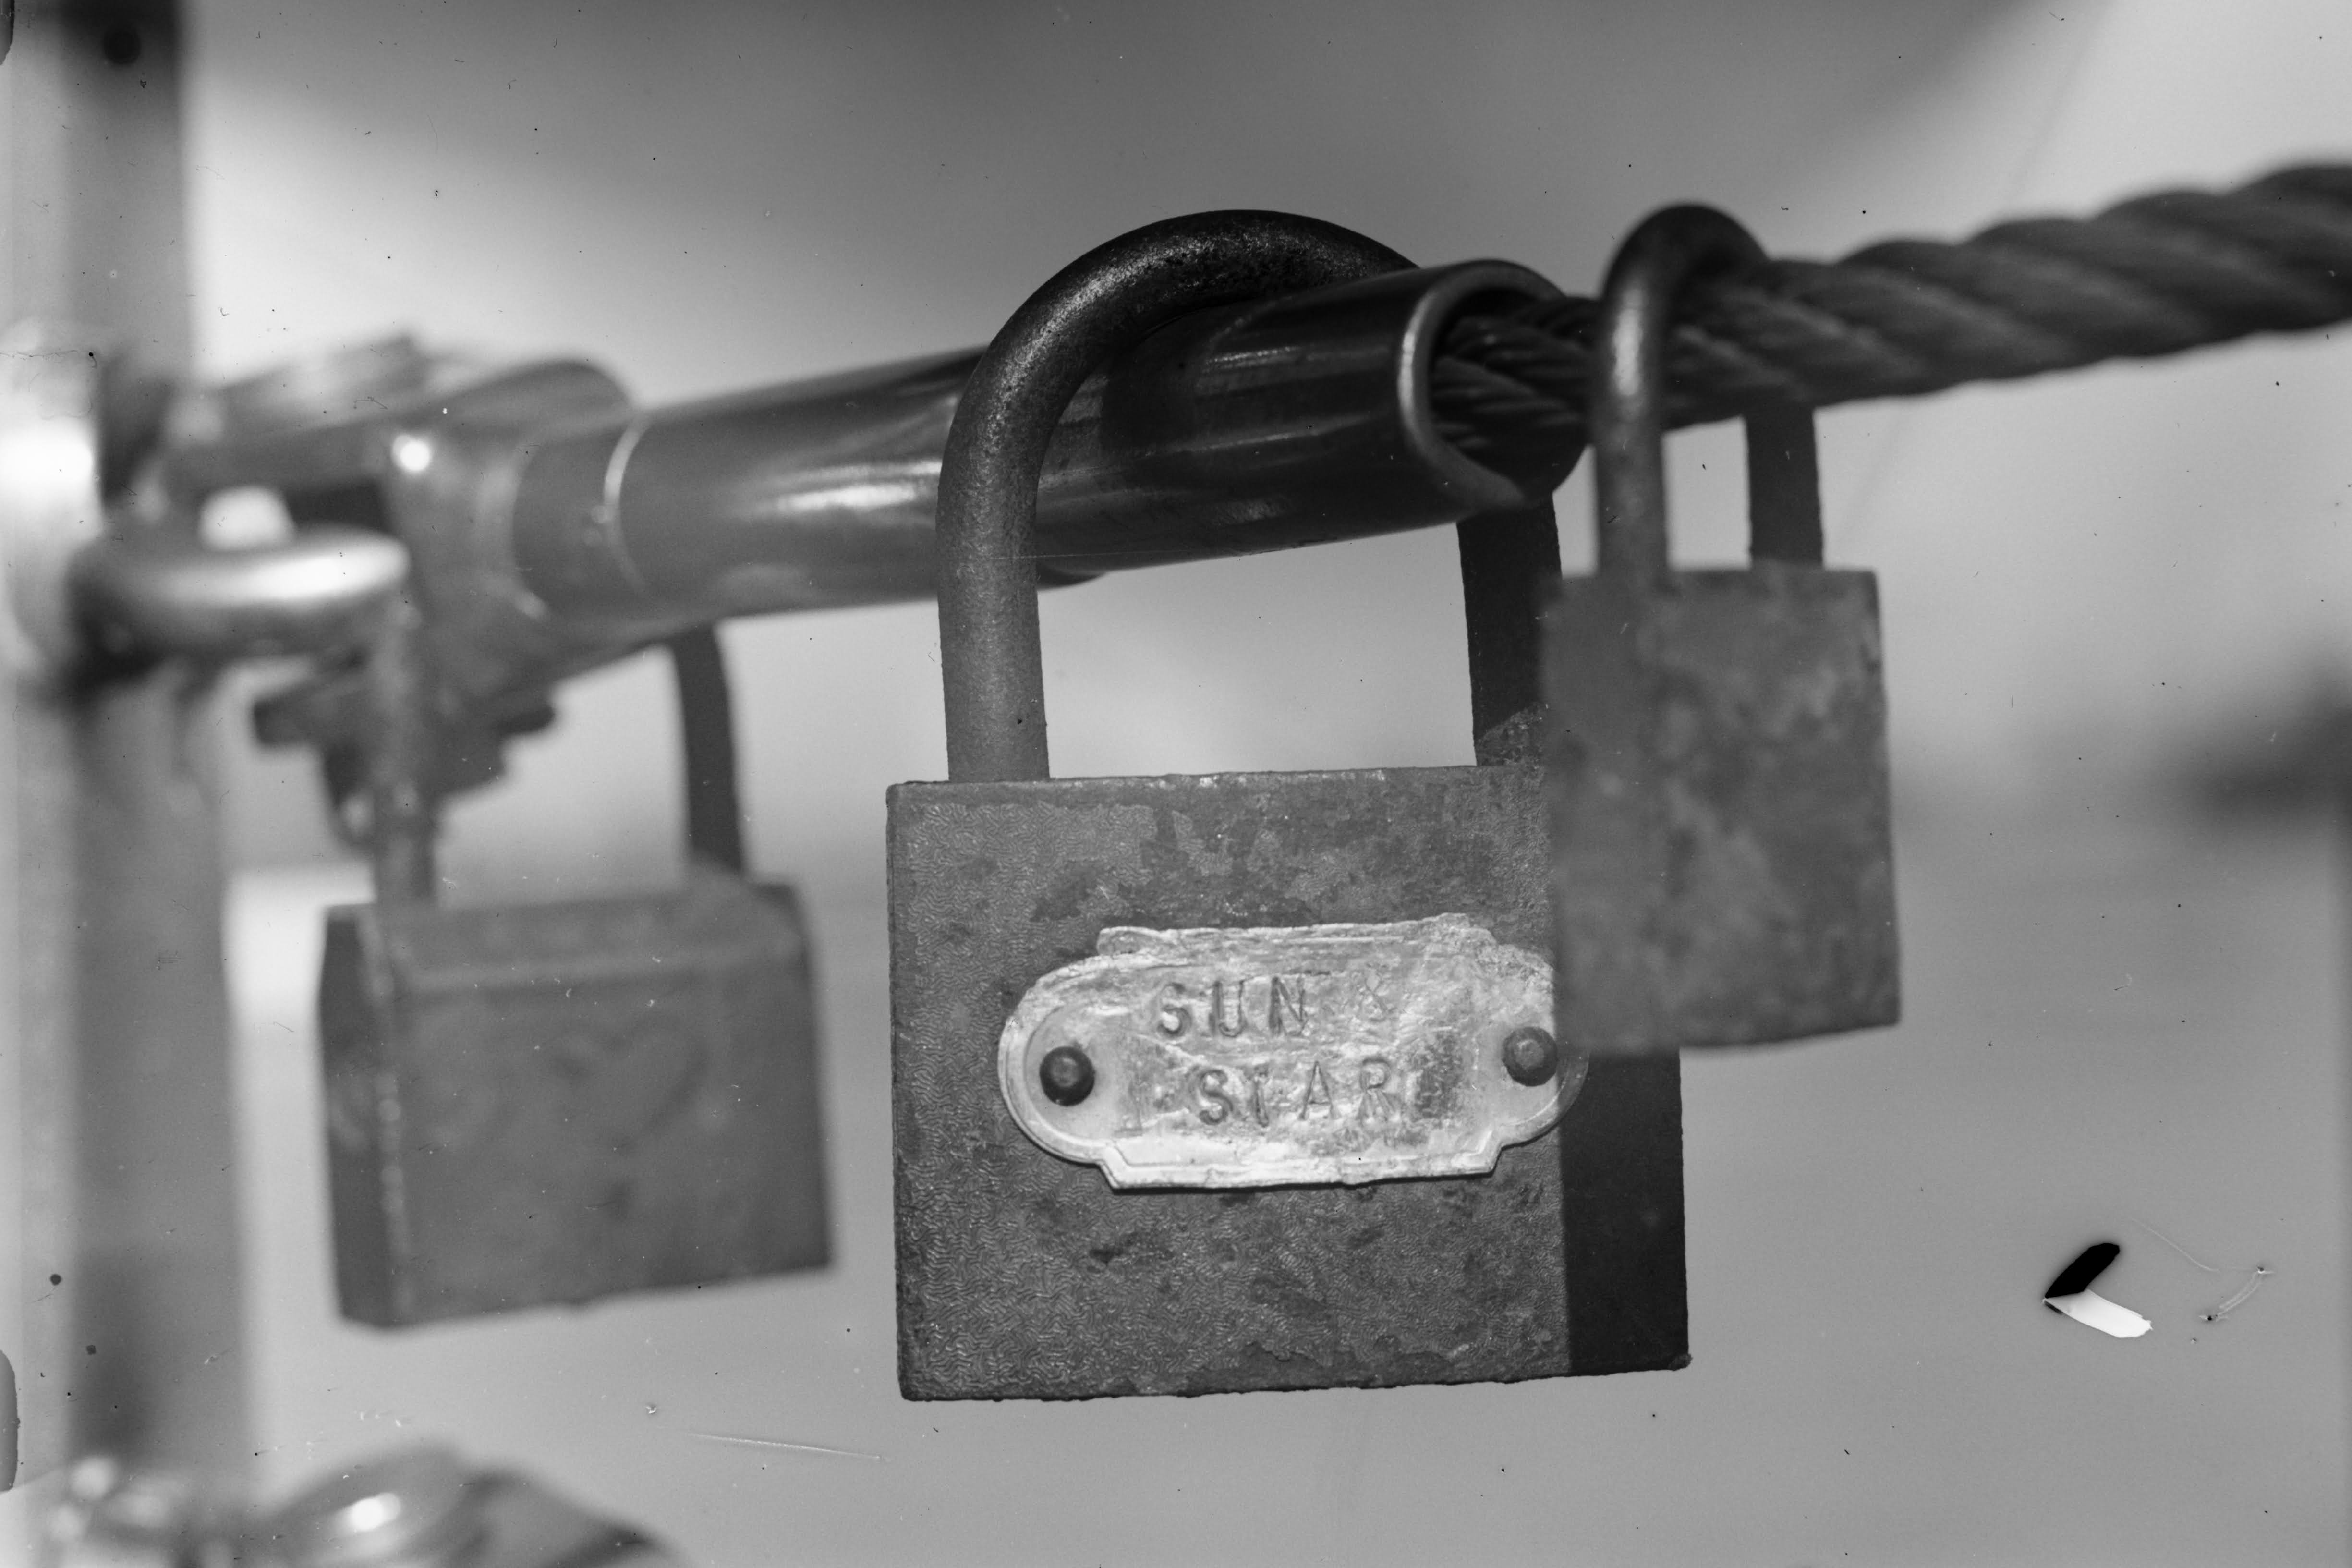
Some padlocks on a railing, showing the close focus capability, this also features a light leak from a bent dark slide, and a big chunk of damaged emulsion caused by clumsy handling
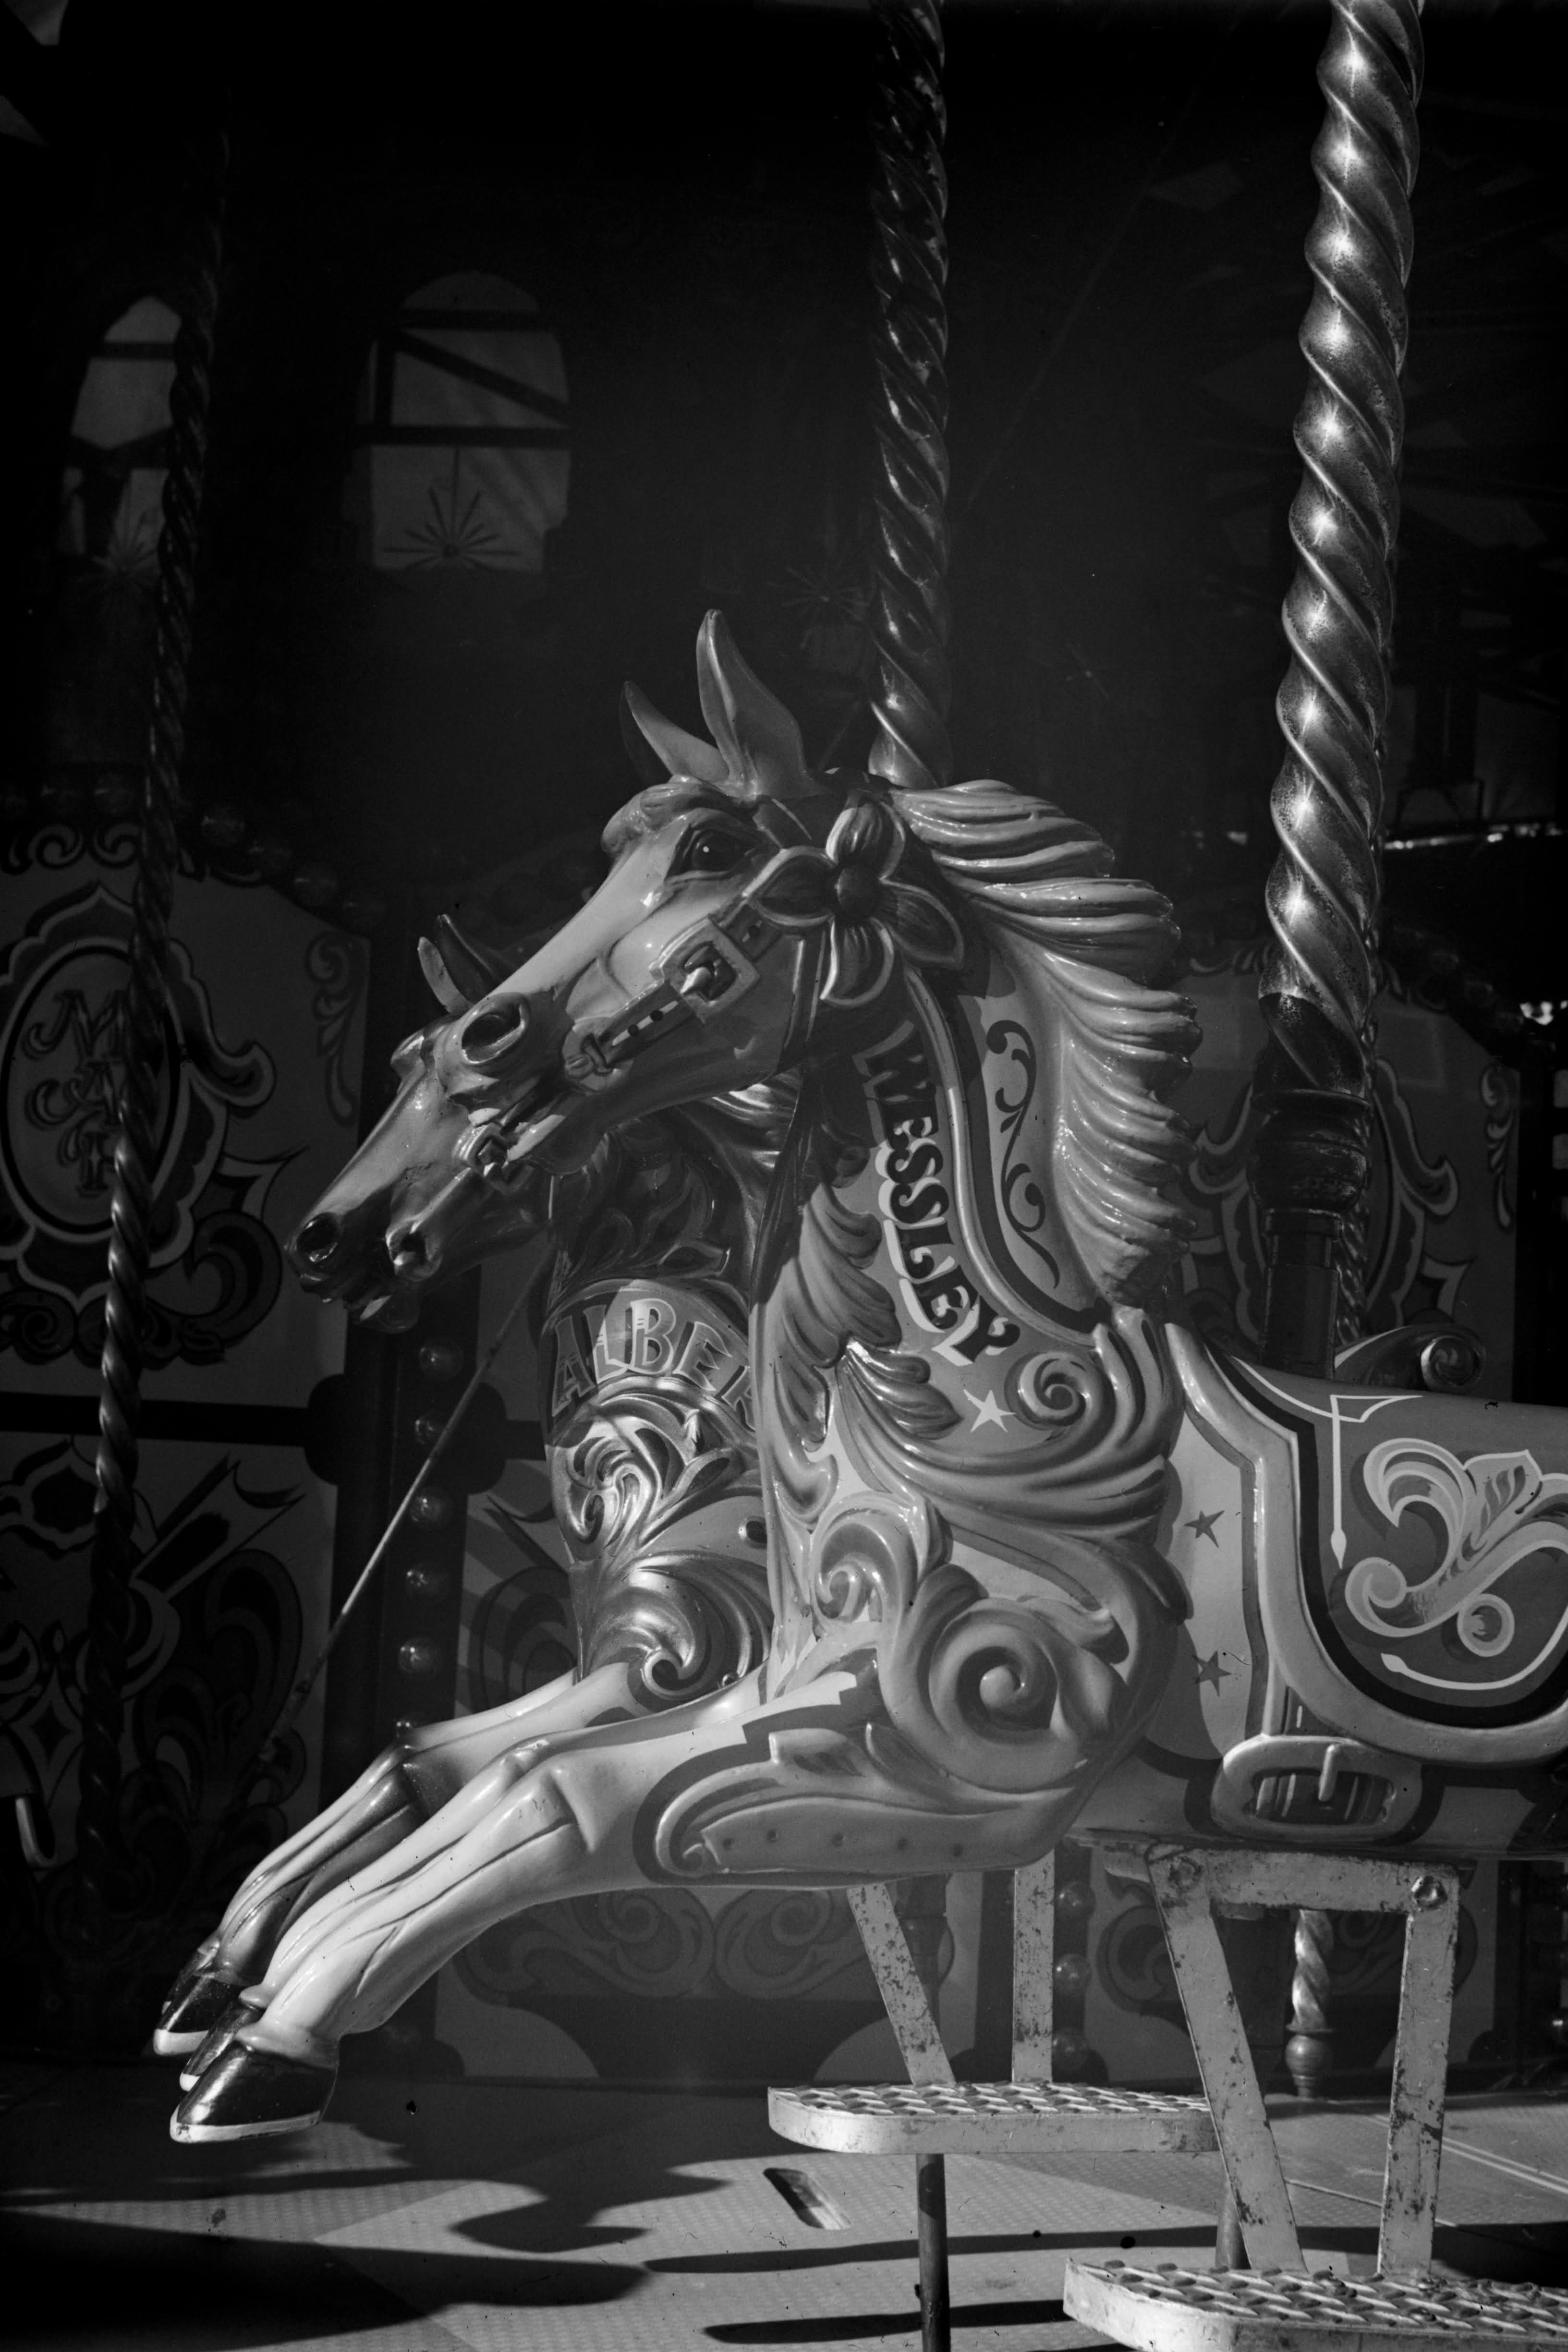
Wesley the carousel horse
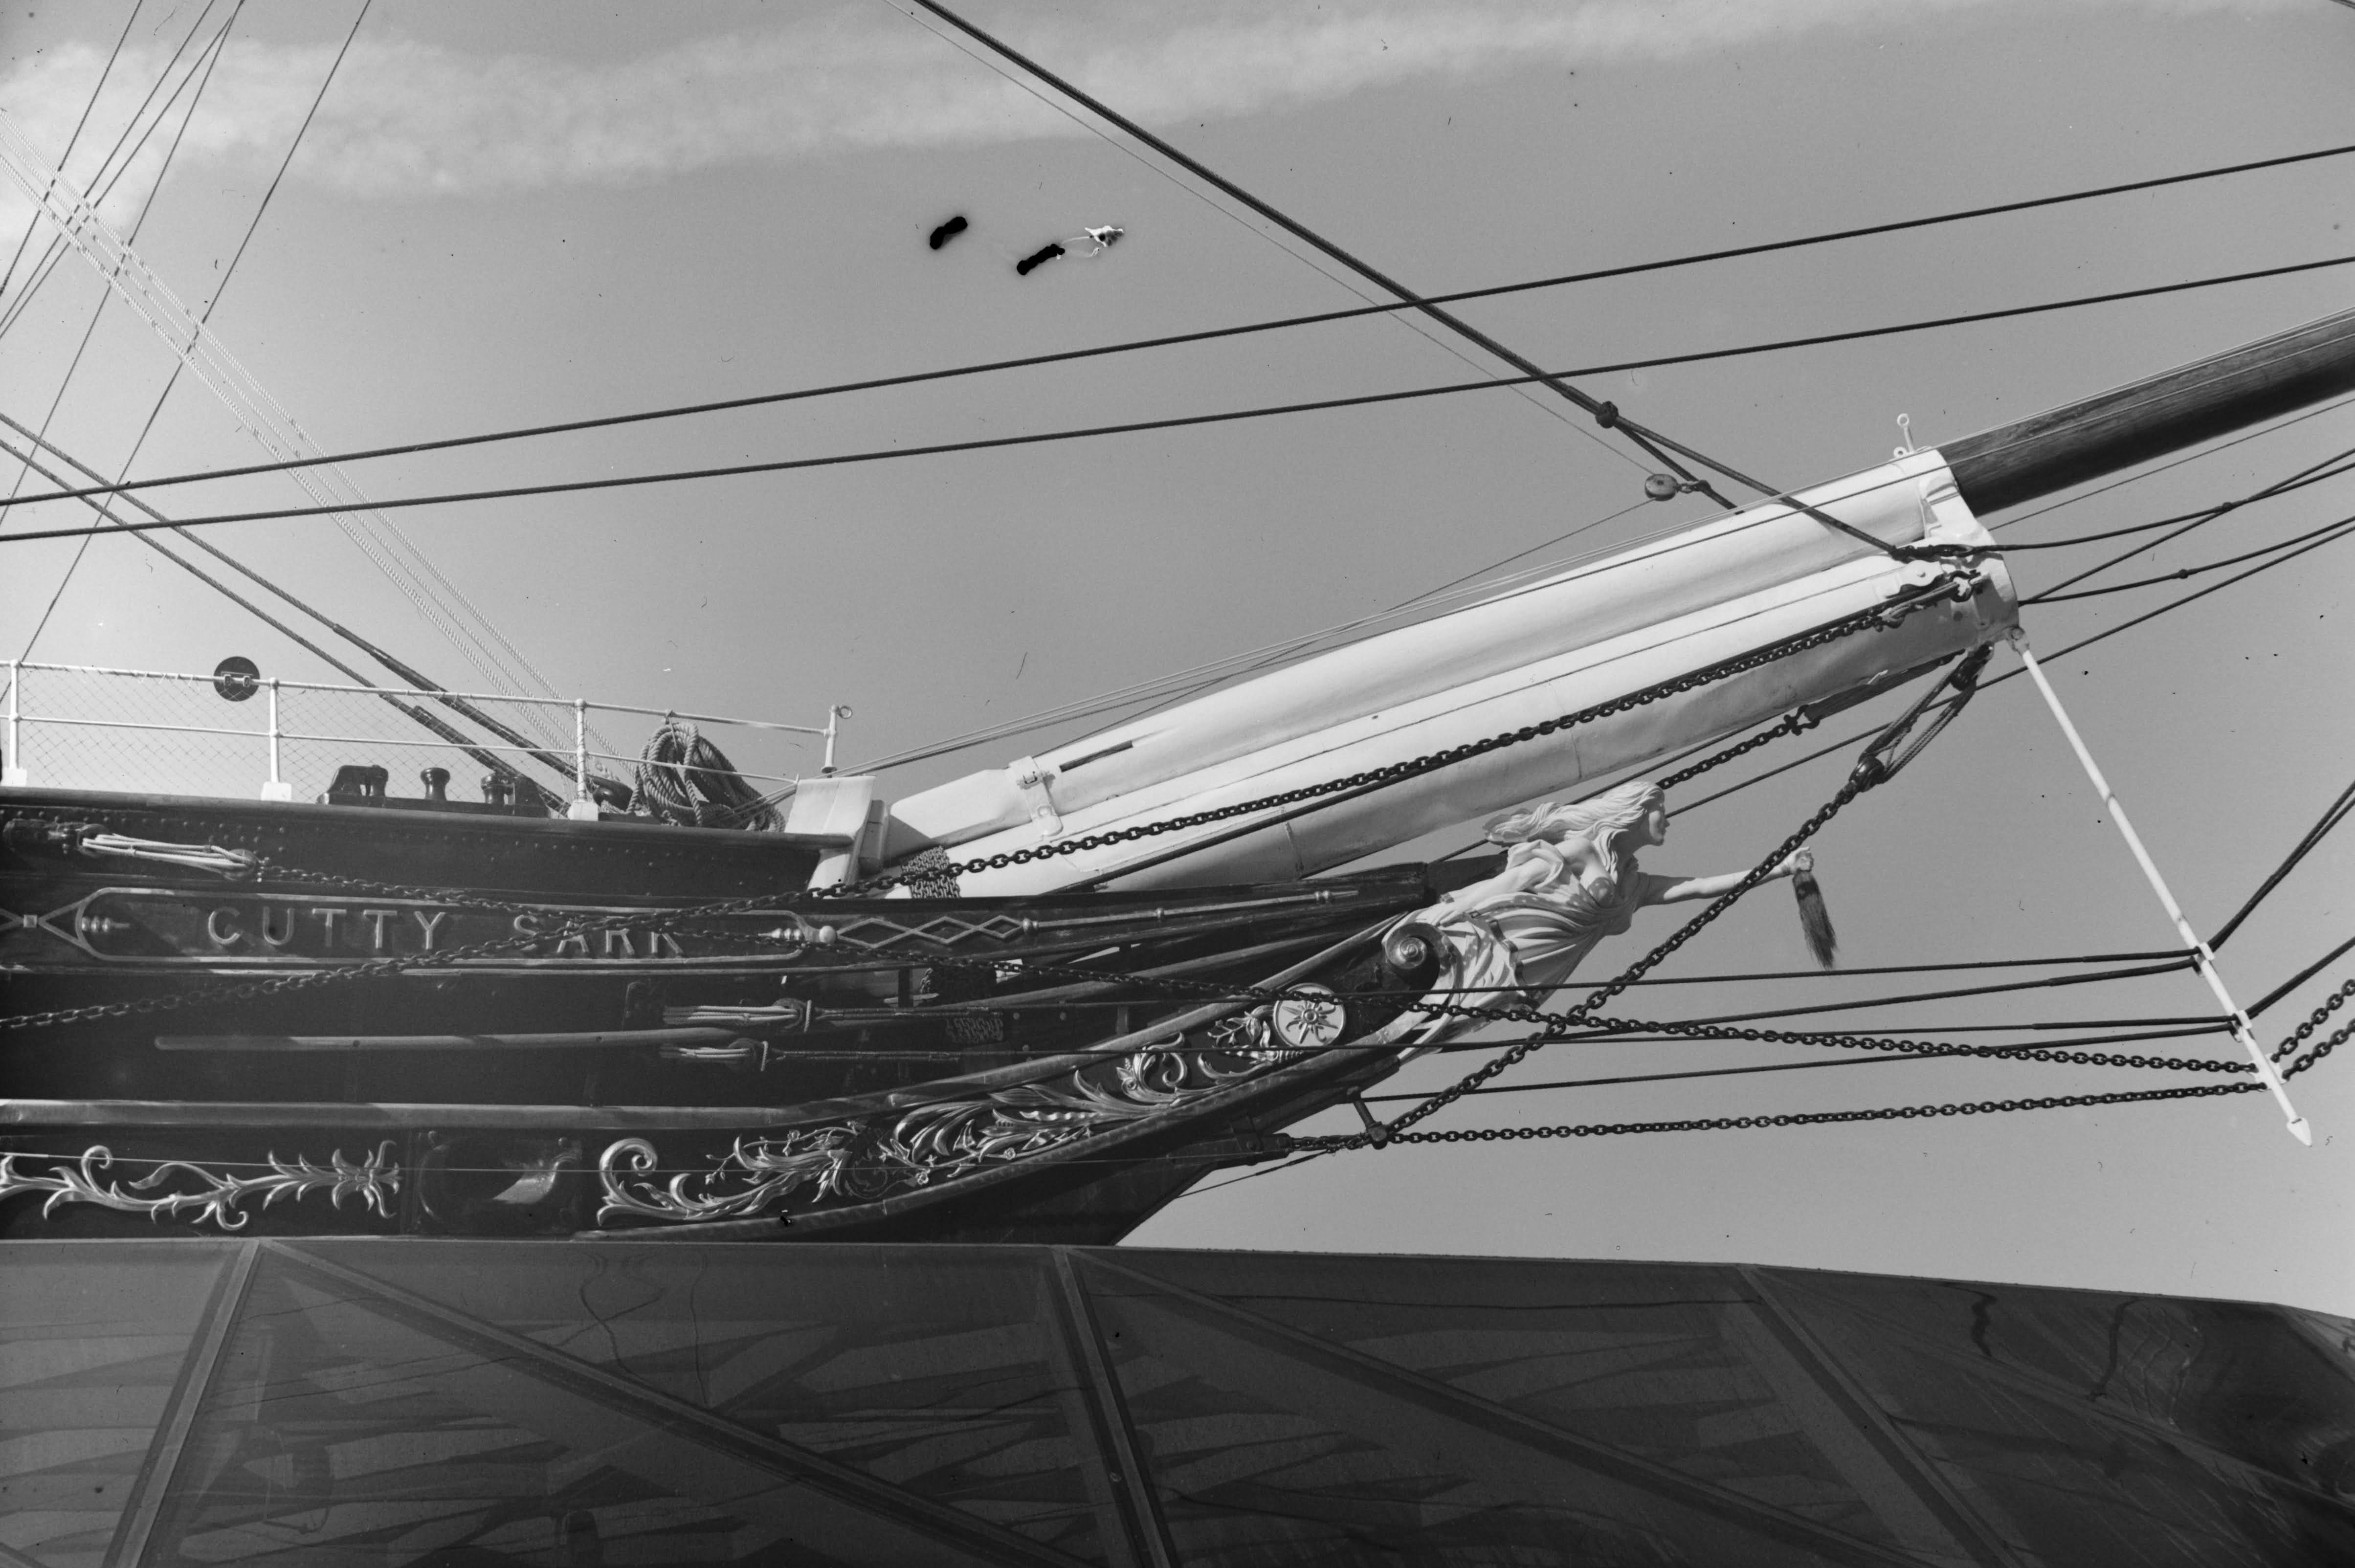
A view of Cutty Sark featuring more emulsion damage
The last step in this adventure was to see if I could make a print from the plates. I set up the Intrepid Compact again. After constructing a plate carrier from a couple of bits of matt board I began the process. To my surprise the biggest take away is that I have over developed the plates. The print was made at grade 0 and still requires some additional burning. A development time of 5 minutes would probably have been sufficient.
Conclusion
So far this has been a highly enjoyable and surprisingly productive endeavour. The slow effective emulsion speed brings some challenges. I don’t have enough plates, or experience to establish a reciprocity time which limits the conditions I can use the plates in. On the plus side, the 6x9 negative size and fine grain combined with the ability to get reasonable contrast makes for very pleasing images. Now that I have acquired the plate holders I have gone on to acquire all the suitable plates that I can find. I now have one more box of the FP4 plates, and several boxes of two different Kodak emulsions. All these will need extra testing and many may be not be usable, but the adventure is a big part of the fun.
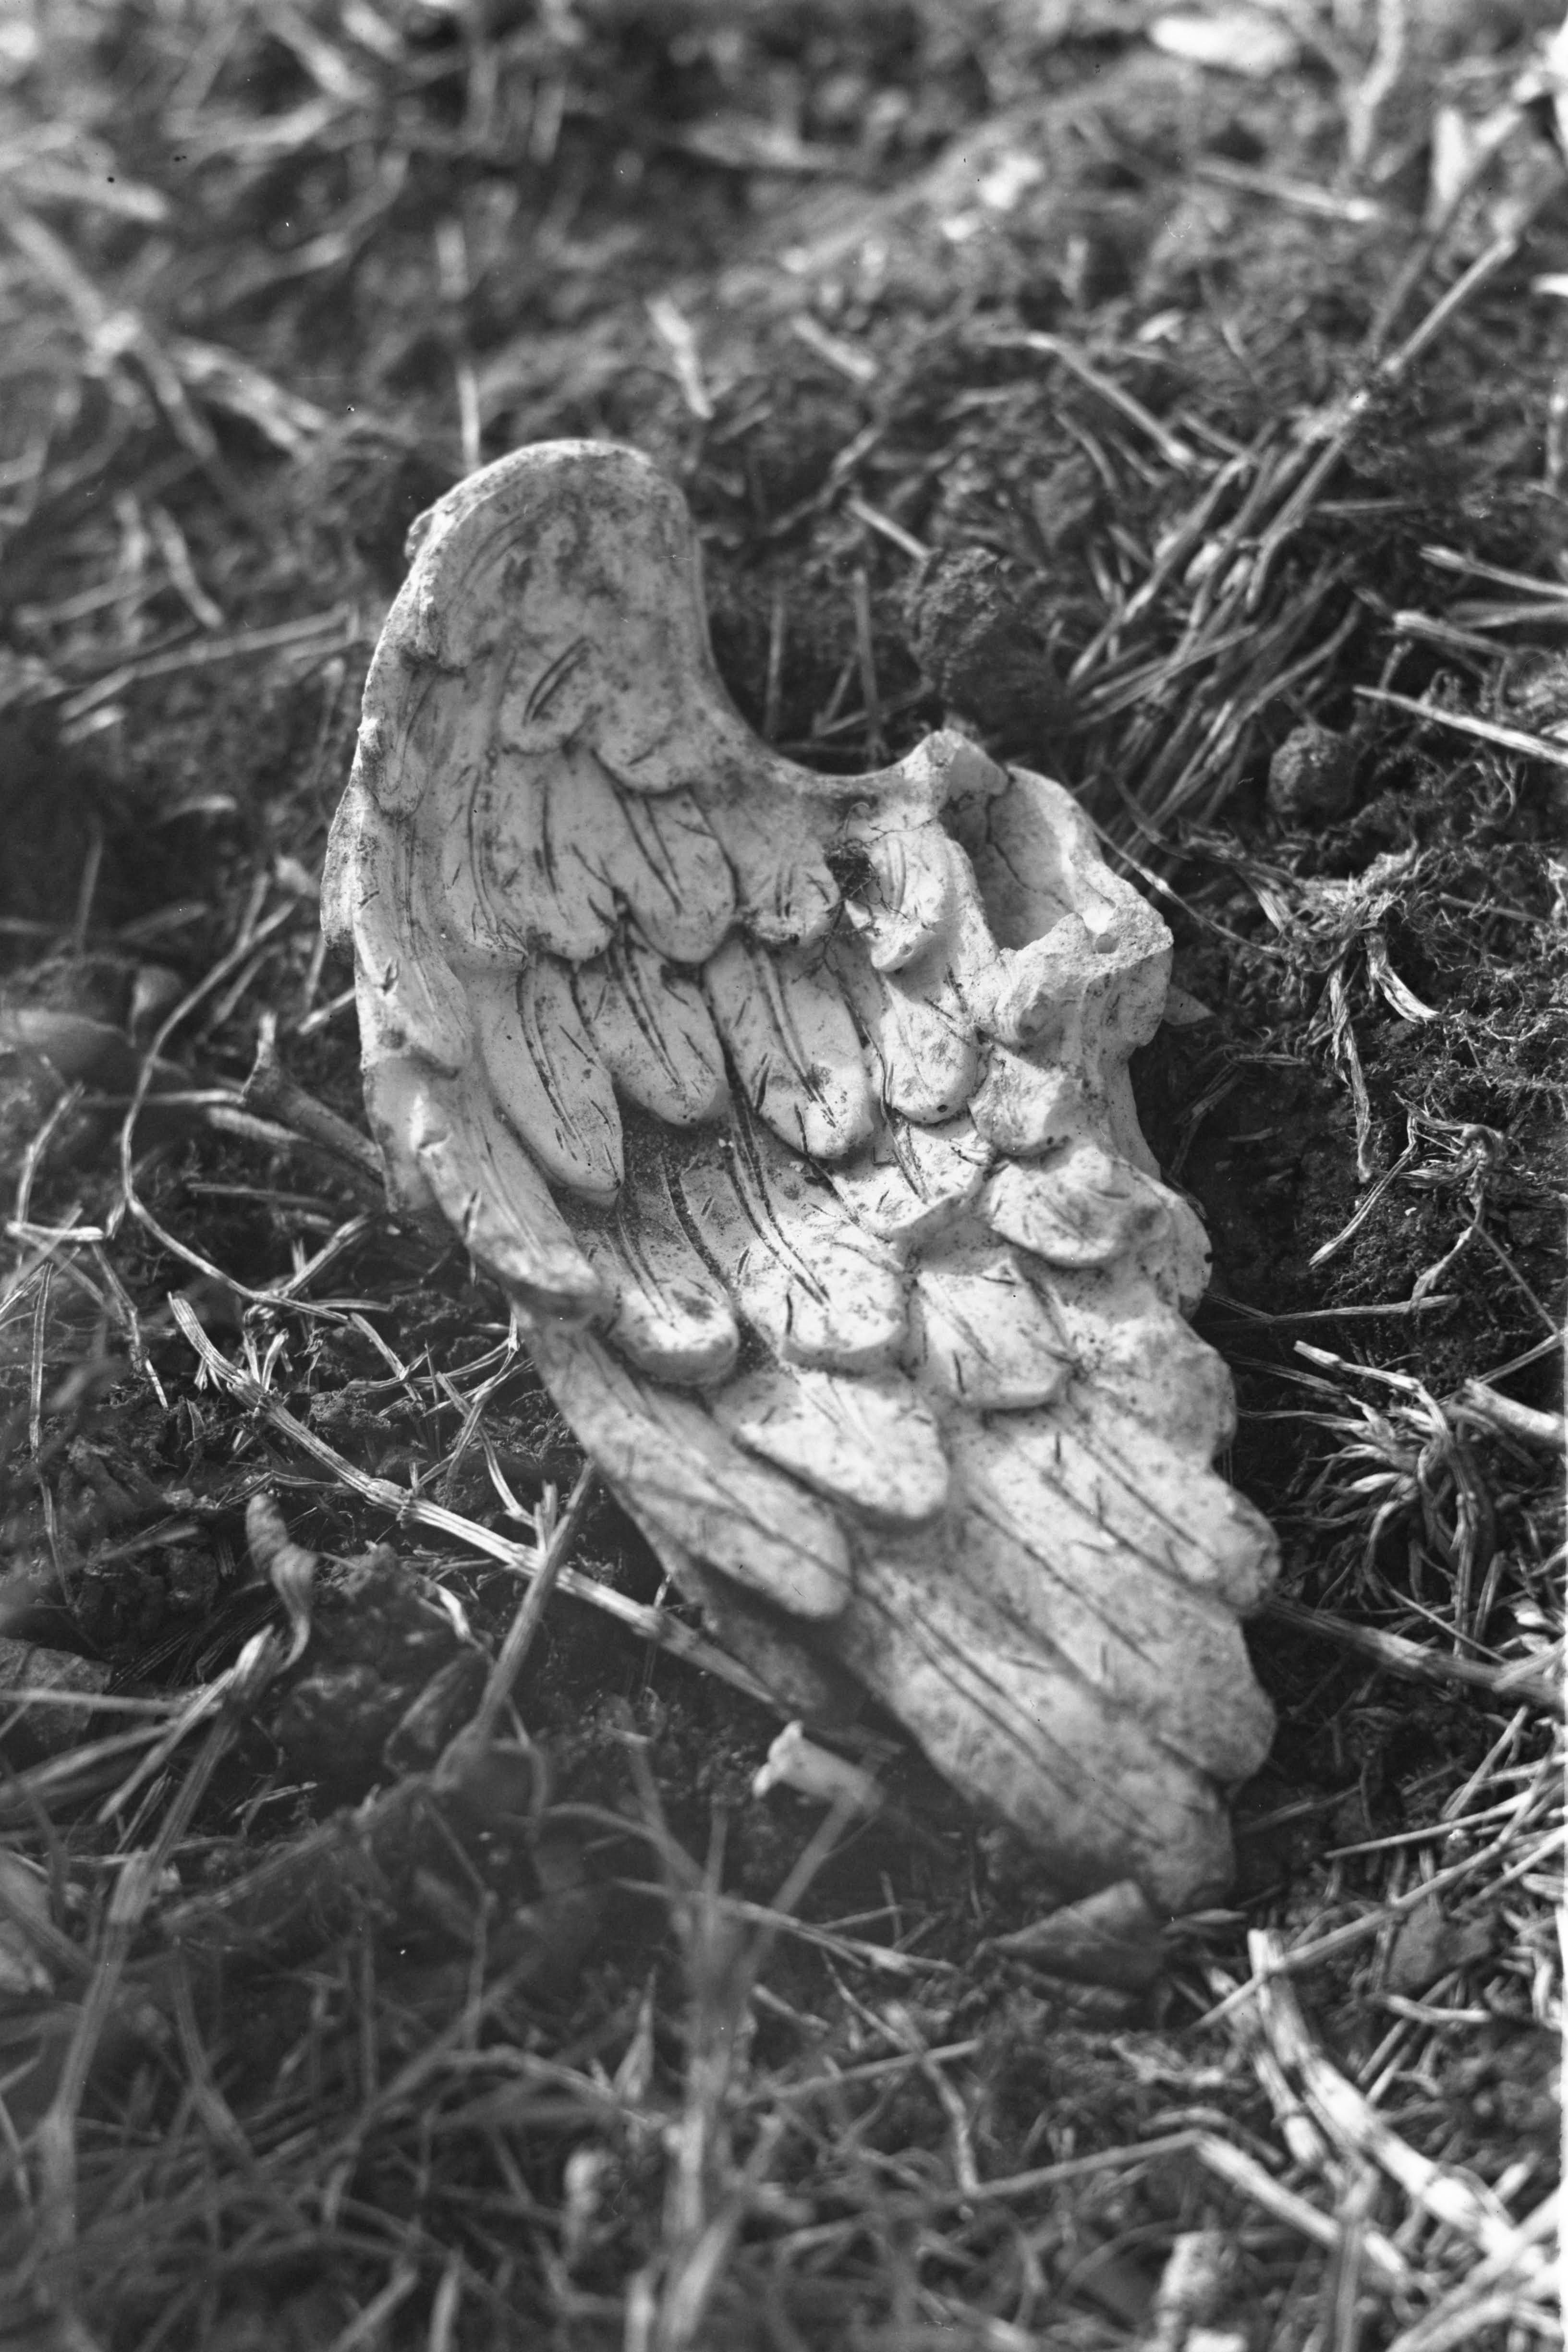
Little Wing
And when all these plates are used? It will be some time before that every happens, but when it does I will still have the option of self coating plates, and have begun investigating how I can adapt an old pack film holder for collodion processes.
Sensitometry is a method for testing film emulsions. Gregory Davis has an excellent series of videos covering the topic. ↩︎